If you have recently migrated your rails application and tried the rails db:setup or rails db:schema:load commands, you might have noticed an error like this: Column aaa_id on table bbb does not match column id on aaaa, which has type bigint(20). To resolve this issue, change the type of the

Create buildspec files AWS CodeDeploy requires a buildspec file for your project. which has all the commands required to build our project and action items required to successfully build and push it to the Deploy stage. We will create two buildspec files for Rails and Sidekiq services. Let’s get our

Concept Our CI/CD process should be driven by any change in our Github repository branch. Codepipeline will be listening for a change in our code on github and initiate the CI/CD process. Create CodePipeline One more steps and our sweet CI/CD is done and dusted. Go to CodePipeline from AWS

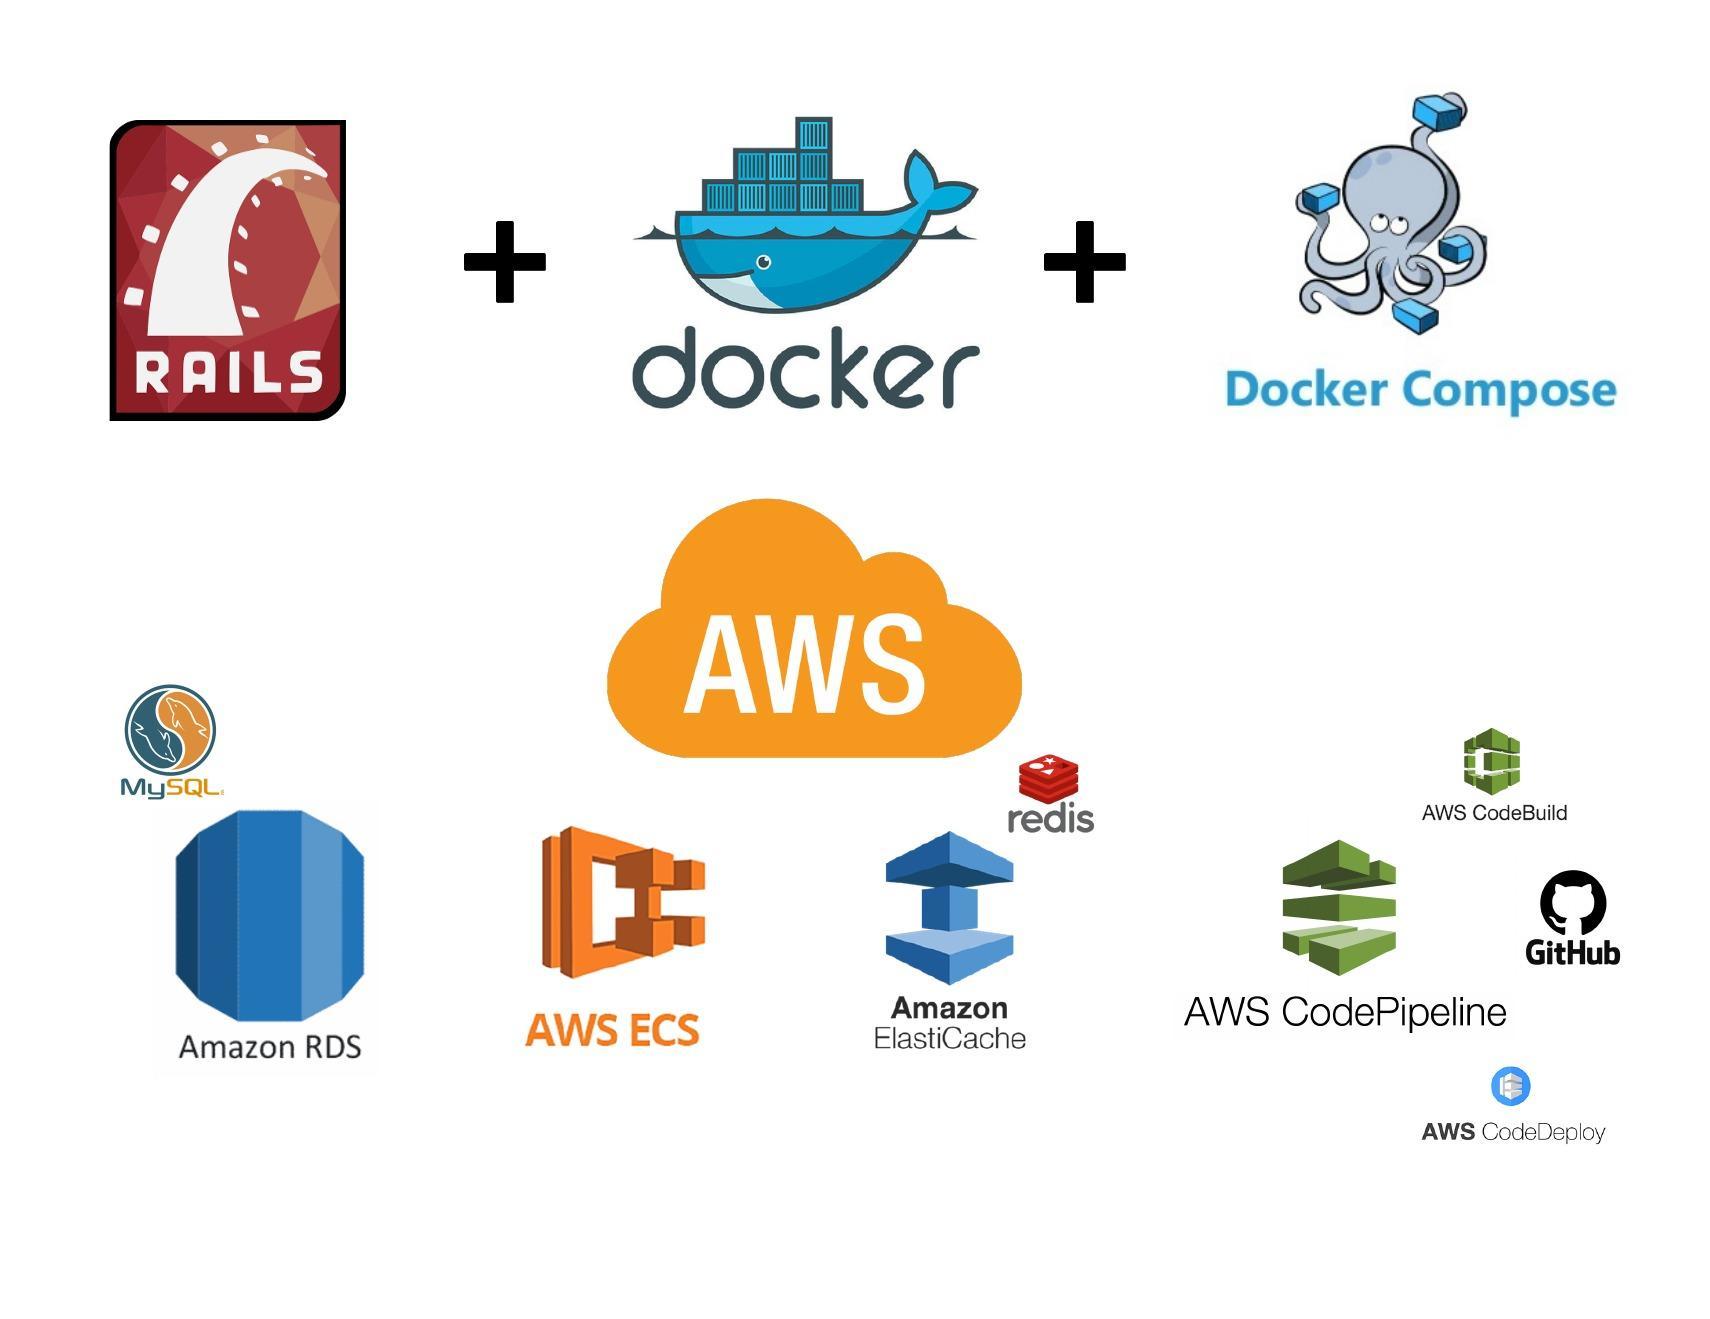
We have successfully created our rails application with Docker and Docker Compose along with MYSQL and Sidekiq (using redis) for our development environment. Now we plan to put our website on AWS using (ECR, ECS, RDS, Elastic Cache and Load Balancer etc). Disclaimer: We will do a lot of configuration

As mentioned before, Bastian instance will allow us to connect to our Rails instance, RDS (MYSQL) and Redis cache for sidekiq from our local machine. It can be very handy when it comes to test services or troubleshoot issues. Create Bastian instance In the EC2 console, Click on Key pairs

Create RDS Database Find and select the RDS service under the service tab. Click on create database. Follow the instructions below: Before we begin, please change things such as database size, names and other identifiers as per your requirements we will be choosing your database name, username and password, Please

Create the rails application rails new ecs-rails-application –api -d mysql You can replace ecs-rails-application with whatever name you want for your application You can also download the my repository from github. here is link Docker time Our application is created. Let’s create some other files and folders. cd ecs-rails-application #

Create AWS ElasticCache Go to Elastic Cache from your AWS service tab. Click on create Elastic Cache and do the following: We have selected a very small instance as Node type and Number of replicas are also set to 0. Please change these values as per your requirements Create a

Create Load Balancer In this article, we will create the Load Balancer which will sit on top on Rails instances and balance the load as per increasing the requests from users. The ultimate reason for this approach is to make your website scalable and always available for our clients. From

AWS ECS Task Definition AWS ECS task is a bit similar to Docker compose. task definition has the ECR Docker image and container along with Environment variables. Ultimately, the task will be deployed inside ECS Cluster which we will create later. We will create two task definitions (Rails and Sidekiq)