
This article is the continuation of Rails + Sidekiq + Docker Application for AWS (ECS, ECR, RDS, Codepipeline and more) complete series. For better understating, please start from the beginning of the series.
Build and Tag Rails Docker project
As we have already set up our WordPress Docker project in Create and Dockerize rails application with MYSQL and Sidekiq (Docker + Docker Compose) article. Its time to tag and push our Rails project to AWS ECR.
You can also download the Docker Rails project used in this tutorial series from https://github.com/saluminati/personal-docker-blog
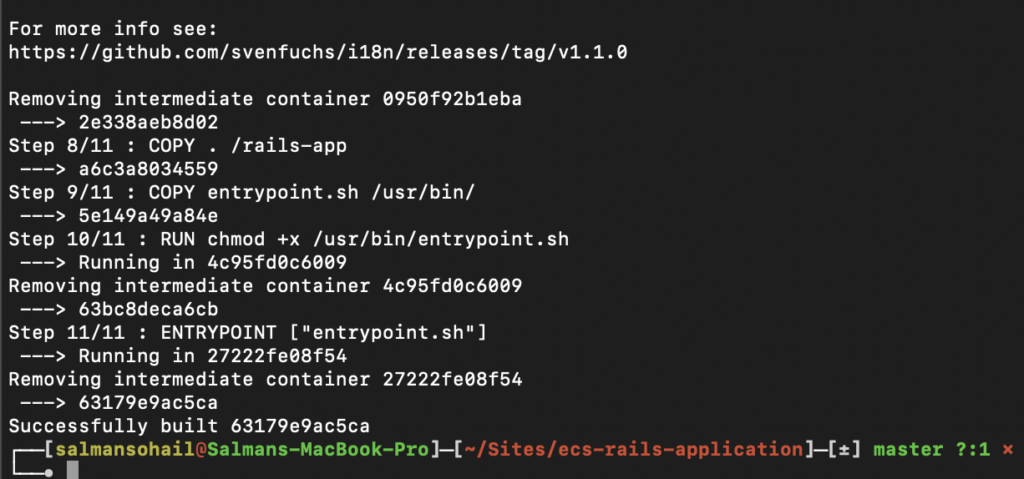
Go to you rails project root directory and execute the following commands:
You should see something like that on the console
Now we lets tag the build, for that, please run the following command:
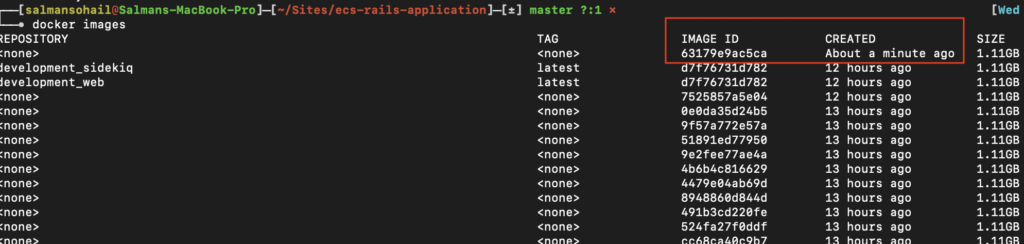
Copy the IMAGE ID of the most recent one, in our case it is 63179e9ac5ca
replace 63179e9ac5ca with your image_id and salman-docker-blog with the name your prefer
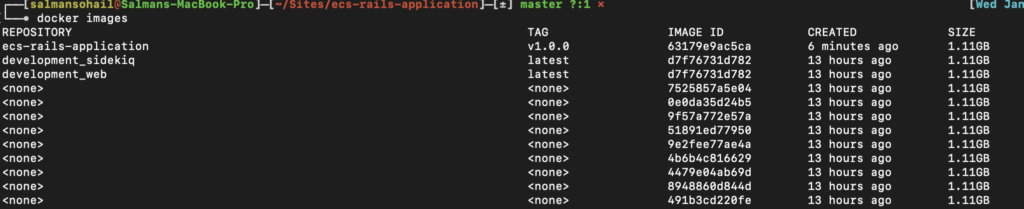
run docker images command again and you should be able to see that your IMAGE ID has been tagged.
Push the Docker build to ECR
You will need AWS cli in order to push the Docker Image to AWS ECR.
Please follow this link to install AWS cli on your local machine.
Once its installed, you should be able to run the following command on your console to configure AWS IAM User credentials you have recently downloaded as a CSV file.
Please use the credentials from the CSV file you have downloaded in Create IAM user and roles or Rails Project article.
It will ask for AWS Key ID, Secret Key and AWS region. Please use the appropriate region.
More information about AWS regions are available here
Create ECR Repository
In this section, we will create a ECR repository on AWS and push our docker build by using AWS cli.
Let’s do this !
Go to AWS service tab and search ECR. Click on Create repository.
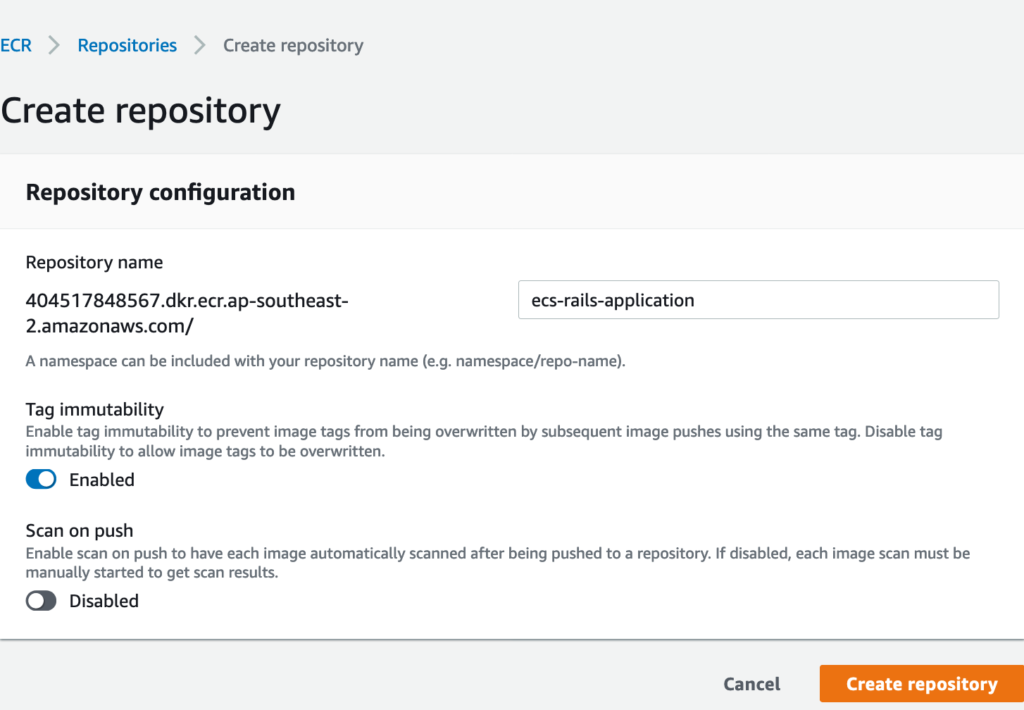

Copy the repository URI, we will use it in the next step.
Push to AWS ECR !
Finally !!!! we are now ready to push our Docker build to Amazon AWS
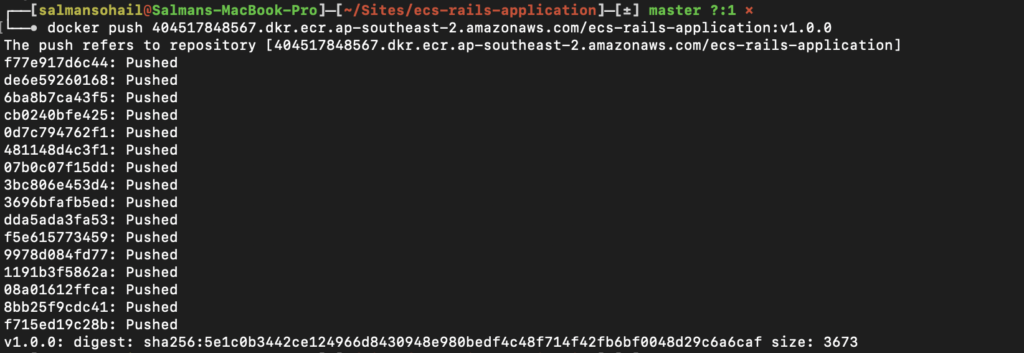
Go to your console and run the following commands:
Please replace the 404517848567.dkr.ecr.ap-southeast-2.amazonaws.com/ecs-rails-application with your ECR repository you have created earlier.
Now your docker image is tagged, time to push it. For that, you will need to run the following command on console to login to AWS ECR service.
This command will print a long string on your console screen. Please copy that long string and paste it to your console again. That will log you in to ECR Service. Once you paste the code and hit enter, you should be able to see Login Succeeded message.
When you click on your ECR repository from AWS. It will now show you the v1.0.0 is pushed.
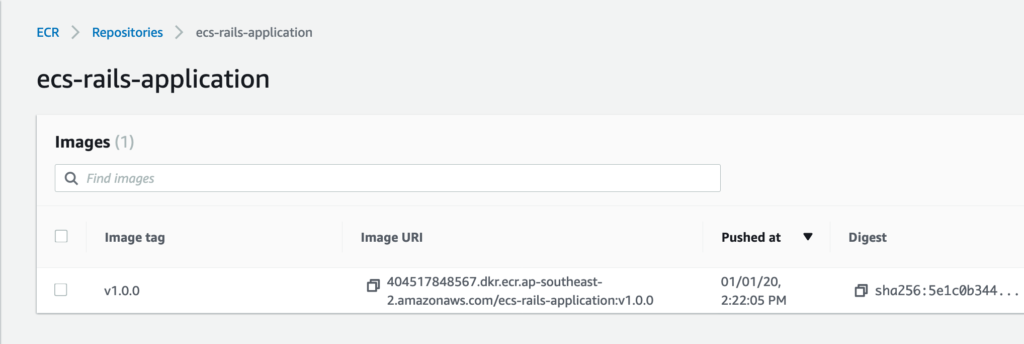
And we are done !!!

AWS CLI vs 2 has updated the calls to get logged in. The new command is:
aws ecr get-login-password –region region | docker login –username AWS –password-stdin aws_account_id.dkr.ecr.region.amazonaws.com
Pulled from: https://docs.aws.amazon.com/AmazonECR/latest/userguide/docker-push-ecr-image.html
Thank you so much for the suggestion, I will update my article soon.