This article is the continuation of Rails + Sidekiq + Docker Application for AWS (ECS, ECR, RDS, Codepipeline and more) complete series. For better understating, please start from the beginning of the series.
Create RDS Database
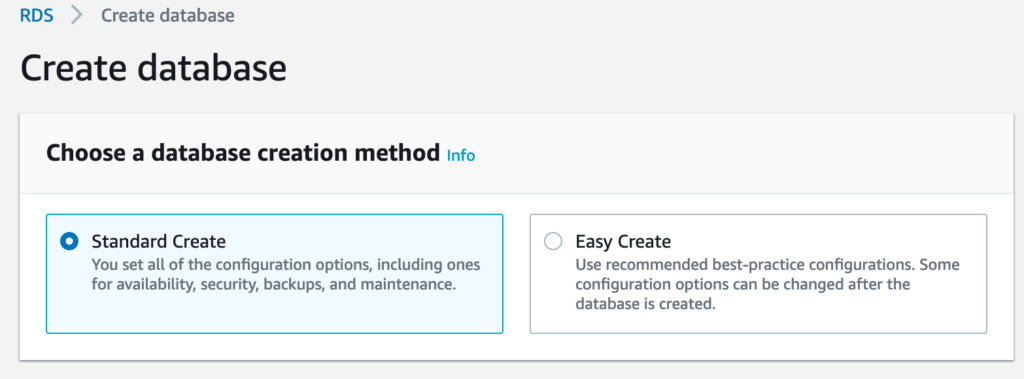
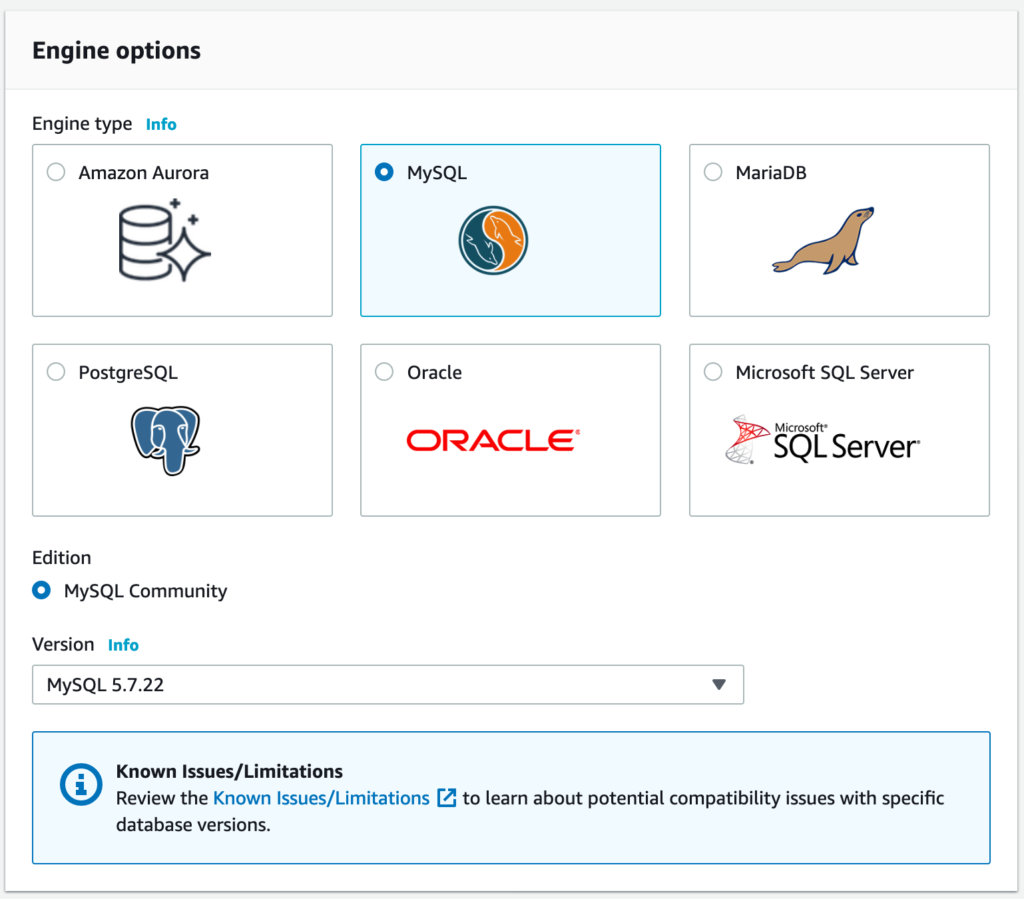
Find and select the RDS service under the service tab. Click on create database. Follow the instructions below:
Before we begin, please change things such as database size, names and other identifiers as per your requirements
we will be choosing your database name, username and password, Please keep those credentials safe somewhere, we will use them in the future.

DB instance identifier is not the database name
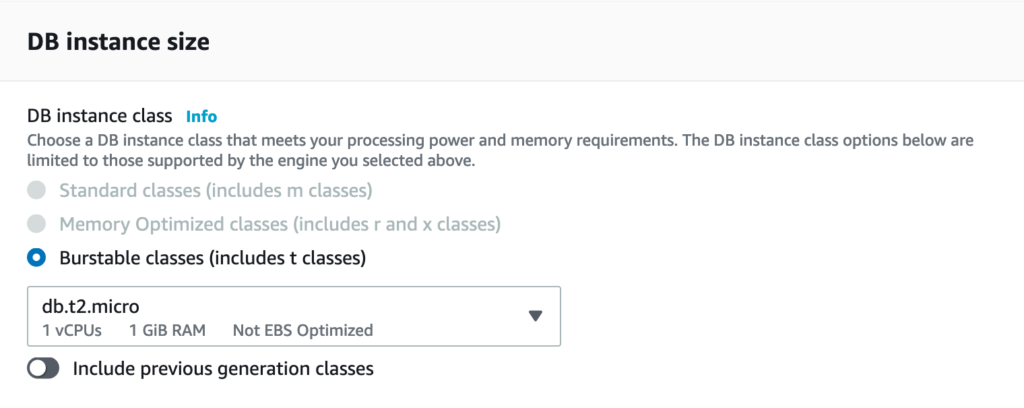
DB instance size totally depends upon your traffic. We’re just using the bare minimum.
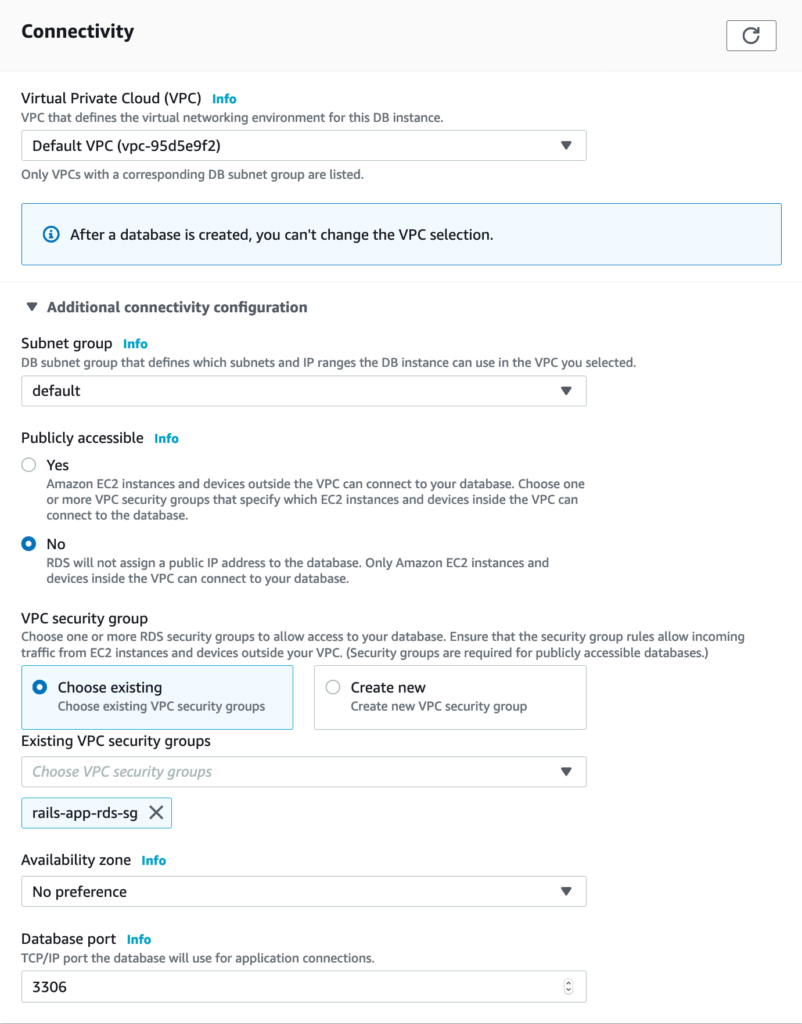
In the connectivity section below, use the rds Security Group we have created earlier.
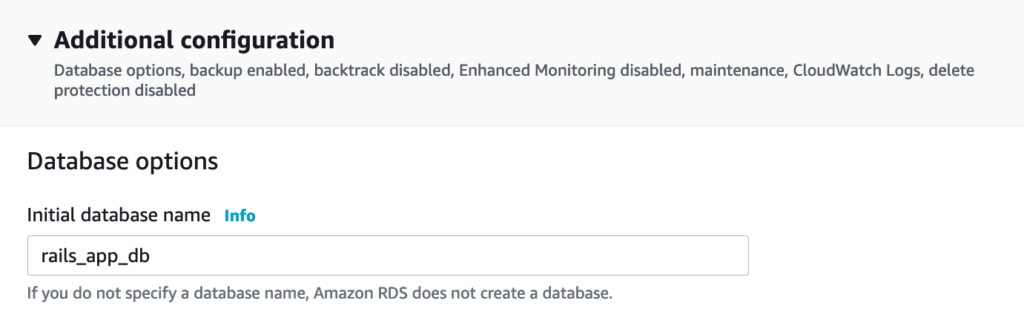
Lets create the initial database.
We have successfully created the RDS database. its time to test it.
It may take AWS several minutes to initialize the RDS Database
Test RDS via Bastian Instance
Connect to the bastian instance. Please refer to Create Bastian instance to test or troubleshoot Rails, RDS and Redis article section Connect to the Bastian instance
Once you’re connected, run the following commands
Its time to test our RDS database. Go to RDS from AWS service tab and click on your Database. Copy the Endpoint URL under Connectivity and Security tab.

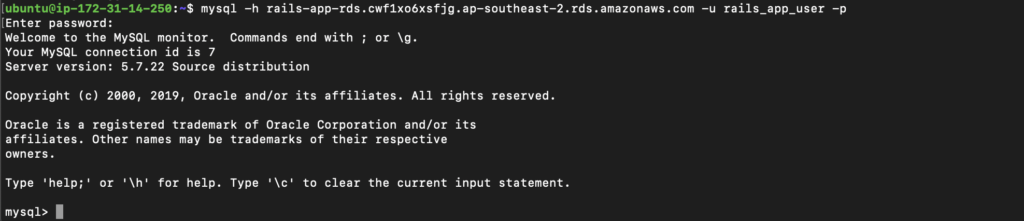
You will also need your database username and password. Write the following command from bastian instance terminal
replace rails-app-rds.cwf1xo6xsfjg.ap-southeast-2.rds.amazonaws.com and rails_app_user with your RDS endpoint and database username respectively. As soon as you will hit enter, it will ask for the password. Please provide the password you chose while creating the RDS database.
You end result should look like this.