
This article is the continuation of Rails + Sidekiq + Docker Application for AWS (ECS, ECR, RDS, Codepipeline and more) complete series. For better understating, please start from the beginning of the series.
Create buildspec files
AWS CodeDeploy requires a buildspec file for your project. which has all the commands required to build our project and action items required to successfully build and push it to the Deploy stage. We will create two buildspec files for Rails and Sidekiq services. Let’s get our hands dirty !
buildspec for Rails
Create the buildspec-rails.yml on the root directory of our rails application
buildspec for Sidekiq
Create the buildspec-sidekiq.yml on the root directory of our rails application
Copy the content of buildspec-rails.yml into buildspec-sidekiq.yml and only change the following:

I know I know, I have some explanation to do so here it is, Prepare to meet your doom !
Both buildspec files are pretty much doing the same thing i.e. Assuming that the source code (github repo in our case) is provided, CodeBuild needs a buildspec file which can have its phases (pre_build, build, install and post_install etc).
In our case we are simply building the Docker image pushing it to ECR, updating task definitions and exporting imagedefinitions-rails.json and imagedefinitions-sidekiq.json for CodeDeploy phase so it can deploy our new task definition (Rails and Sidekiq).
After adding these files, push the code to your github repository again
CodeDeploy for Rails Application
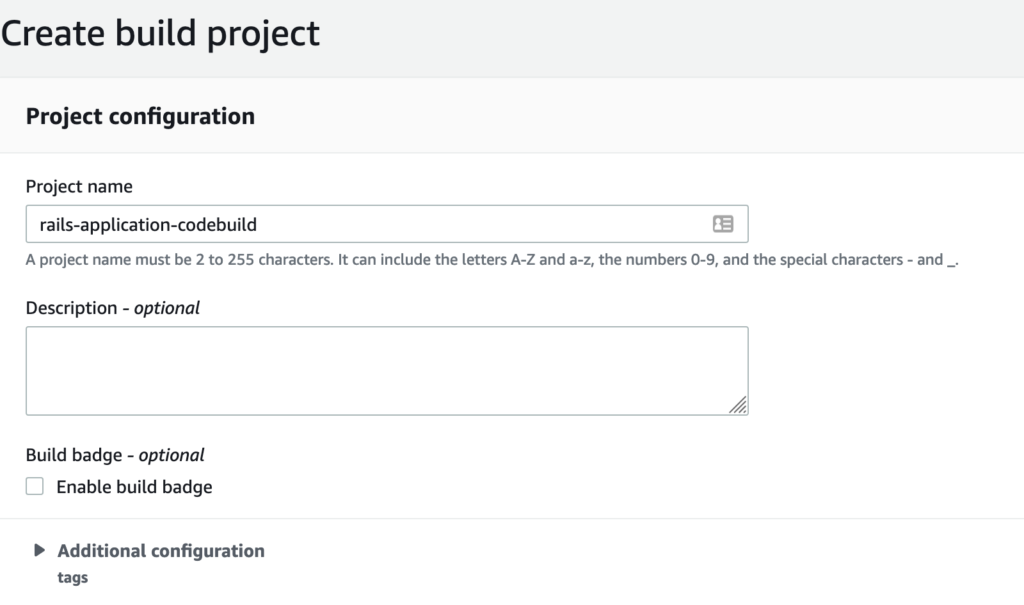
Go to CodeBuild from AWS service tab and click on Create build project
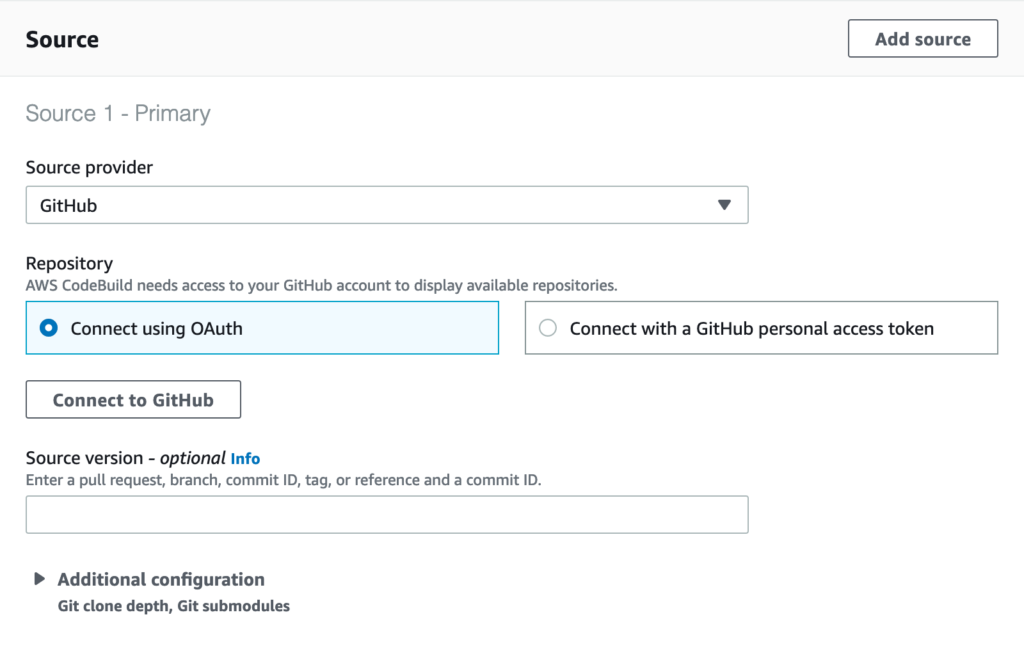
Connect to your github repository and allow AWS access.
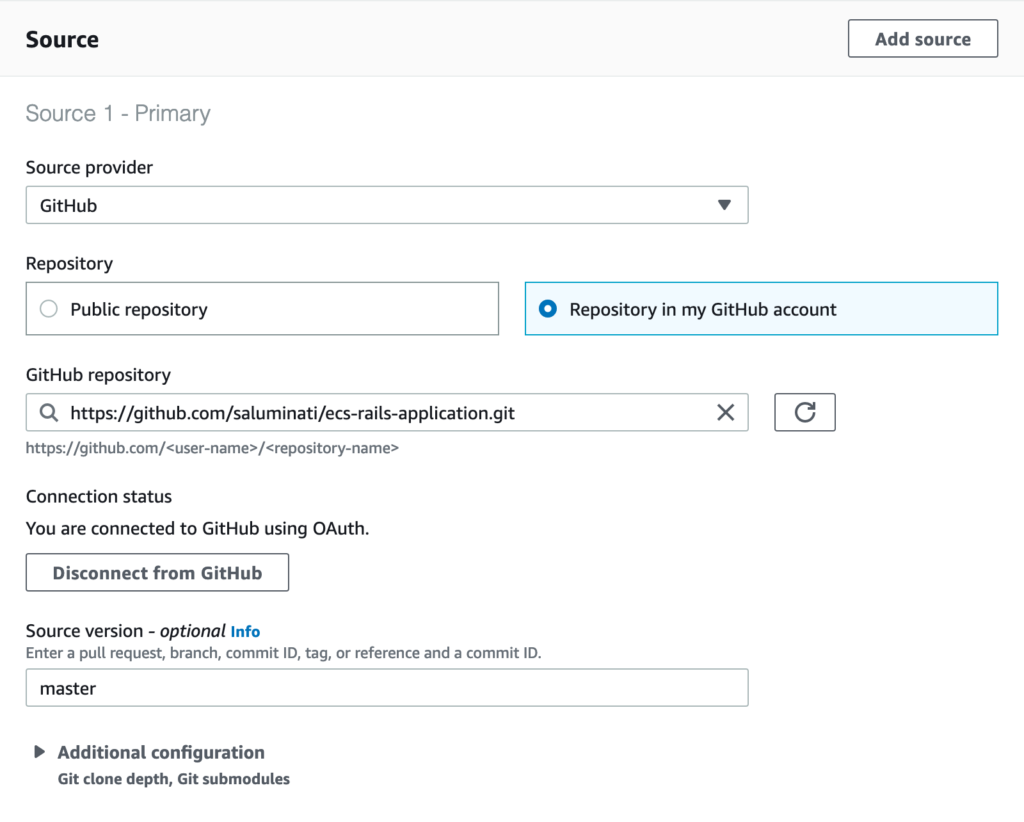
After selecting my repository, I have also selected master branch. You can change it as per your requirements
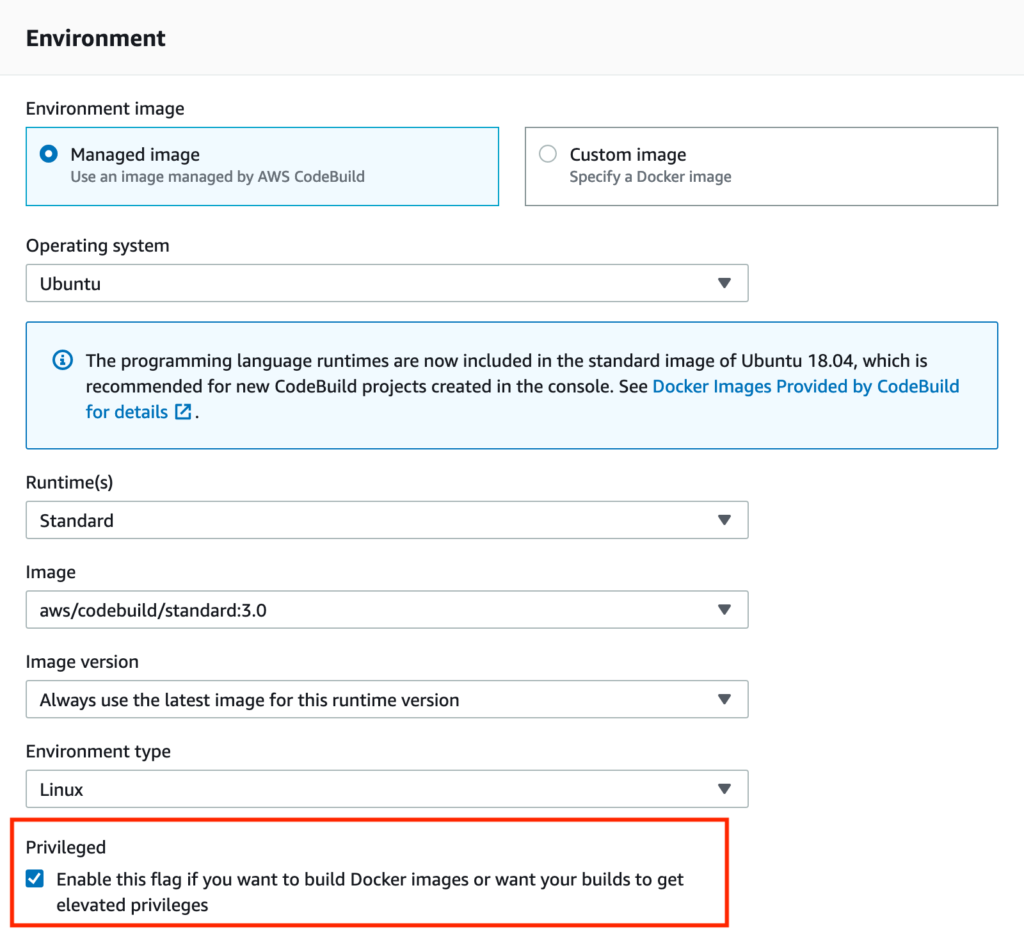
Make sure you select Privileged mode otherwise we won’t be able to build our Docker Image.
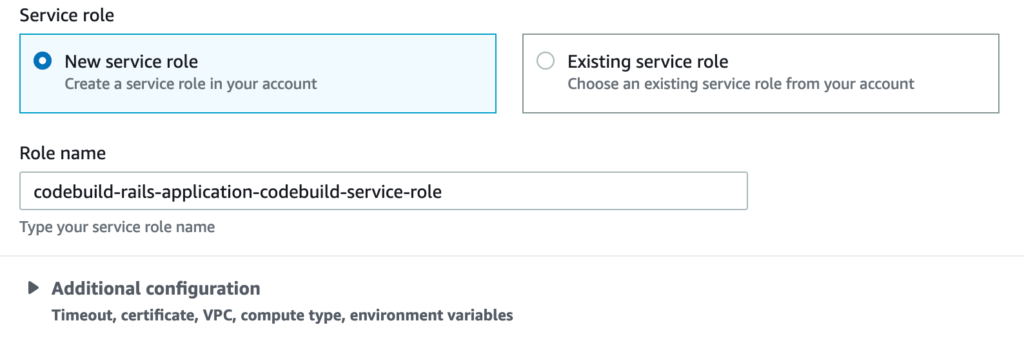
Keep a note of the service role we have created above. We will need to make few adjustments to this service role soon.
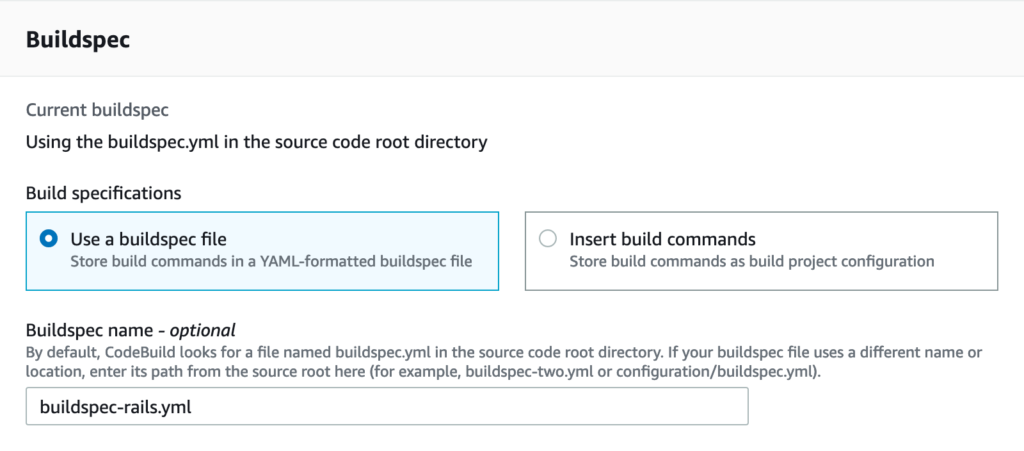
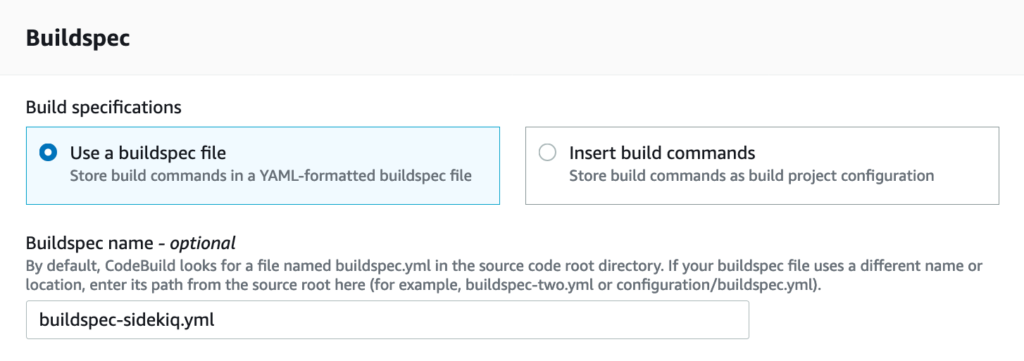
we are using buildspec-rails.yml in this codebuild.
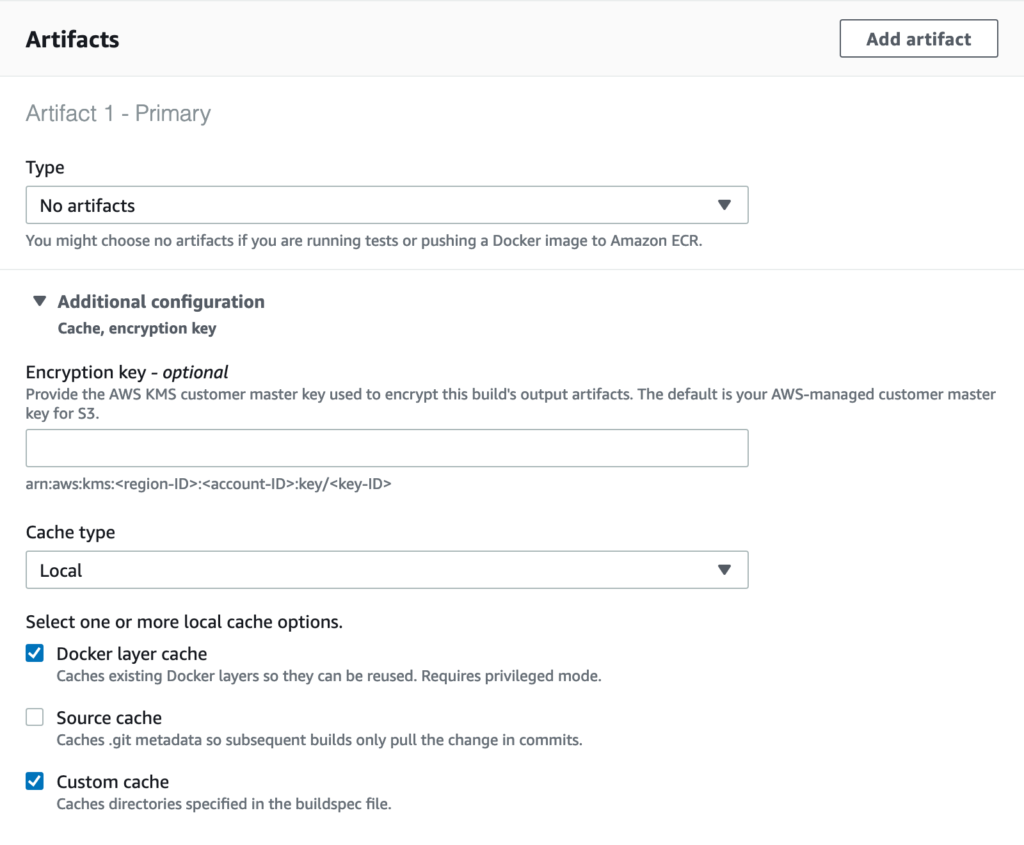
Just using simple caching options to speed up our build process.
Adjustments to Service Role
Go to IAM from AWS service tab, select Roles and search for codebuild-rails-application-codebuild-service-role and do the following:

Search Role 
Attach Policy 
Attach ECR Policy

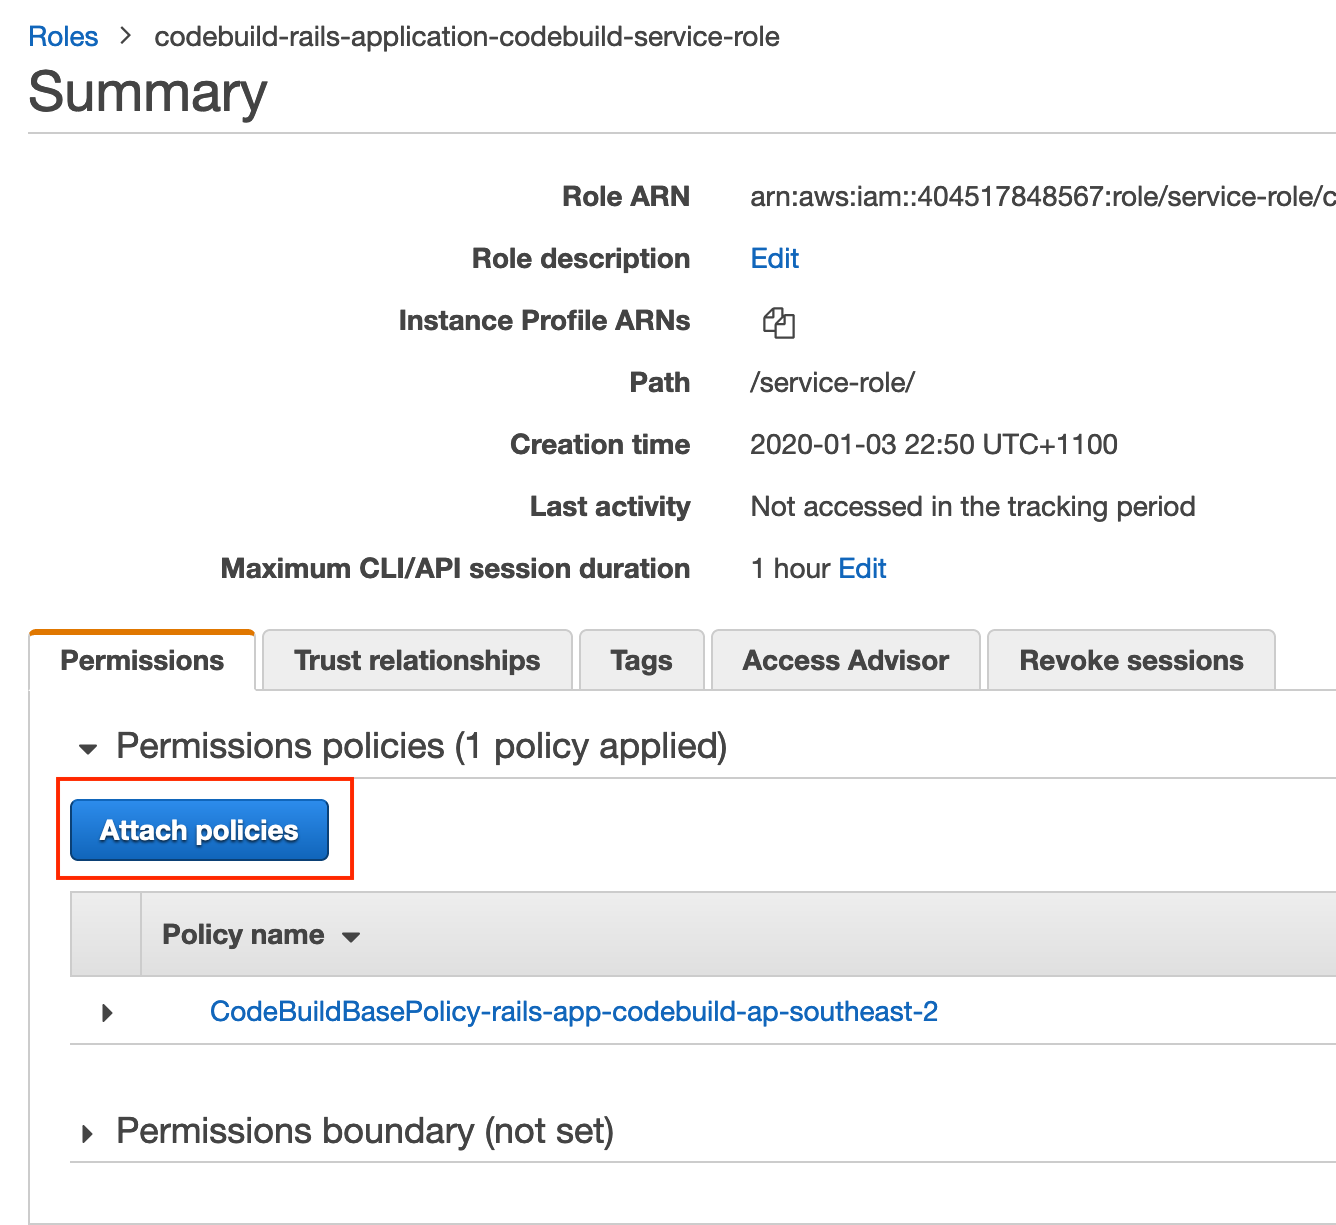

We are simply adding ECR admin policy that we have created earlier to allow our CodeBuild to pull and push Docker Image to ECR.
CodeDeploy Sidekiq
We will repeat the same steps for our Sidekiq CodeDeploy with only one change apart from assigning our build and pipeline names.
Create another CodeDeploy with a different name. This time we don’t have to create a new service role, we will just use the same service role created earlier codebuild-rails-application-codebuild-service-role
Other than that, we will use buildspec-sidekiq.yml file this time.
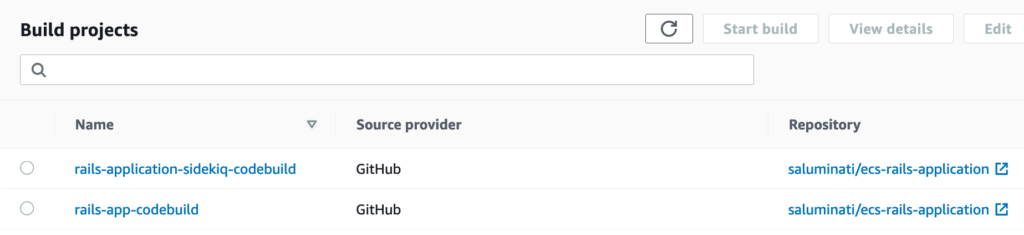
Now we have two CodeBuild projects, Rails and Sidekiq
Now we are ready to complete our CI/CD by using AWS CodePipeline for Rails and Sidekiq.
If you see an error message above, check your keys before proceeding.
If the reCAPTCHA displays correctly above, proceed as follows:
Open a completely different browser than this one
If you are logged in on that new browser, log out
Attempt to log in to your site admin from that new browser
Do not close this window or log out from this browser until you are confident that reCAPTCHA is working and you will be able to log in again.
You have been warned.
If you have any problems logging in, click “Delete Keys and Disable” above and/or deactivate the plugin.
Thanks for this great set of articles! I just wanted to mention that `get-login` was replaced with `get-login-password` in AWS CLI V2, if others also use that version:
https://docs.aws.amazon.com/cli/latest/userguide/cliv2-migration.html#cliv2-migration-ecr-get-login