
This article is the continuation of Rails + Sidekiq + Docker Application for AWS (ECS, ECR, RDS, Codepipeline and more) complete series. For better understating, please start from the beginning of the series.
Concept
Our CI/CD process should be driven by any change in our Github repository branch. Codepipeline will be listening for a change in our code on github and initiate the CI/CD process.
Create CodePipeline
One more steps and our sweet CI/CD is done and dusted. Go to CodePipeline from AWS service tab and click on Create Pipeline
Step: Settings


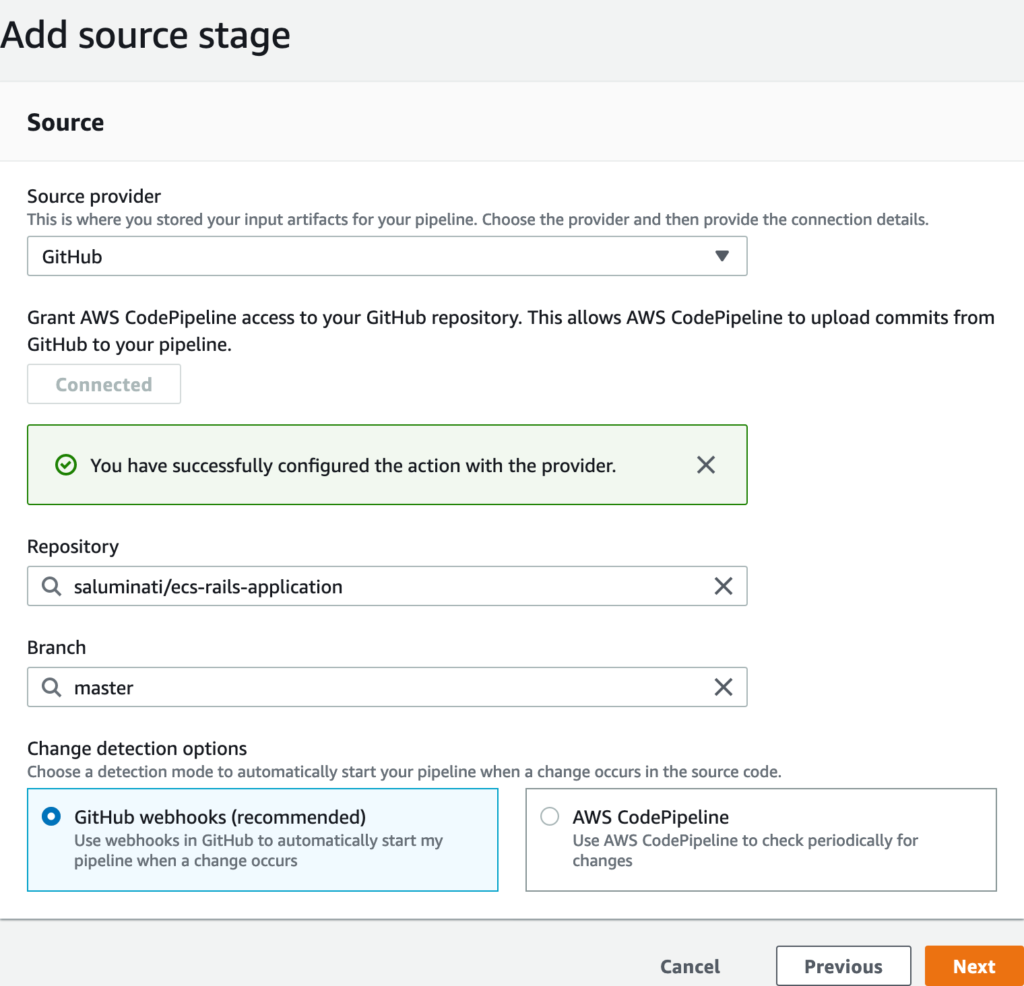
Step: Source

Click on Connect to Github and select the repository and the branch like CodeBuild step.
Step: Build
We will simply select the Codebuild project we have created earlier.

Step: Deploy
We will choose Amazon ECS and Deploy provider followed by cluster name and the rails service we have – Pretty straight forward isn’t it

Final changes to CodePipeline
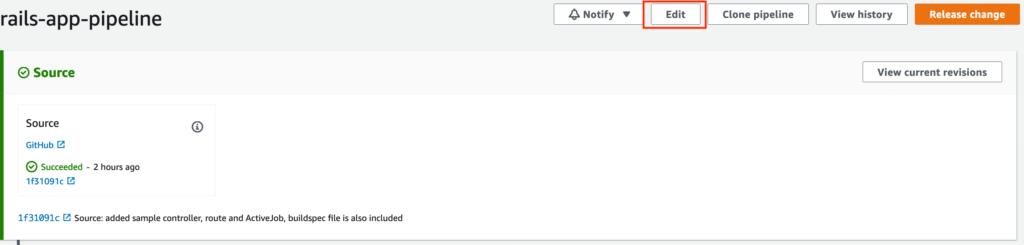
we will now open the same Codepipeline project we created for Rails. We intend to use the same Codepipeline project for Rails and Sidekiq deployment in parallel
Simply select on the Codepipline project and click on edit
Update Build stage
Now scroll down to the Build Stage and click on Edit

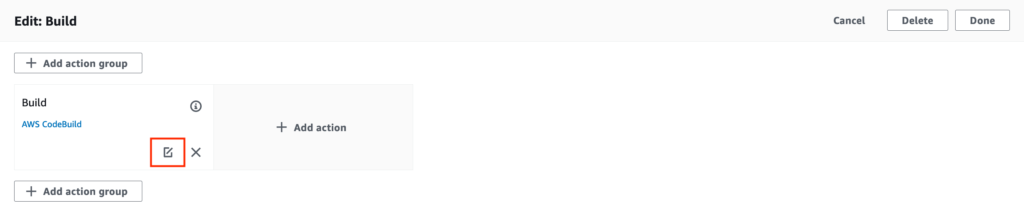
Change the names of following attributes.

Sidekiq Stage
Click on Add Action.

Once the window opens Do the following:

In the Project name, select the sidekiq Codebuild project

Don’t forget to hit Done
Update Deploy Stage
Rails Deploy Stage
Click on the edit Button of Deploy stage

Make the following changes to this stage.

Deploy stage for Sidekiq
Click on Add Action


Hit Done for this stage and then click on Save button top right corner. After Hitting Save, Now Click on Release Change button to test the whole process.


If for any reason, there’s a failure on any stage, you can click on the details and figure out the cause or let me know if I can help.
Next
We’re done and the Misery is over
Any chance you have CloudFormation templates for this whole setup? Looks sweet!
Thank you. Great idea but I can not promise because of my busy schedule