
This article is the continuation of Rails + Sidekiq + Docker Application for AWS (ECS, ECR, RDS, Codepipeline and more) complete series. For better understating, please start from the beginning of the series.
In this article, our website will go live with Load Balancer and Autoscalling groups (having multiple Rails instances on demand). This means that AWS can increase the number of Rails instances on demand and it can scale it down too.
We will do the following in this article:
- Create ECS Cluster
- Create Service for Rails application and Sidekiq
- Configure Autoscalling
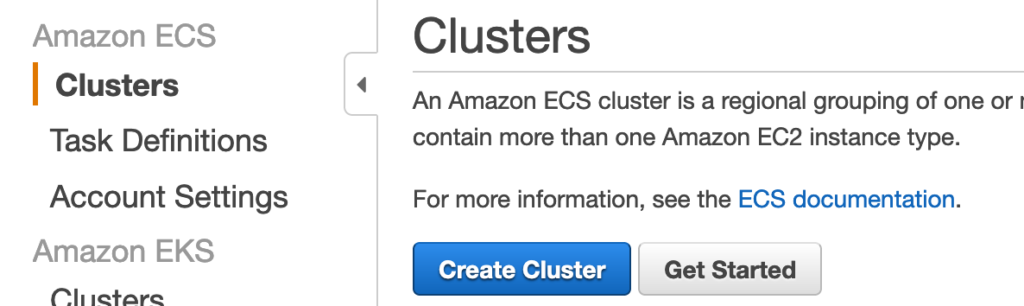
Create ECS Cluster
Go to ECS from your AWS console service tab and select Clusters, Click on Create Cluster
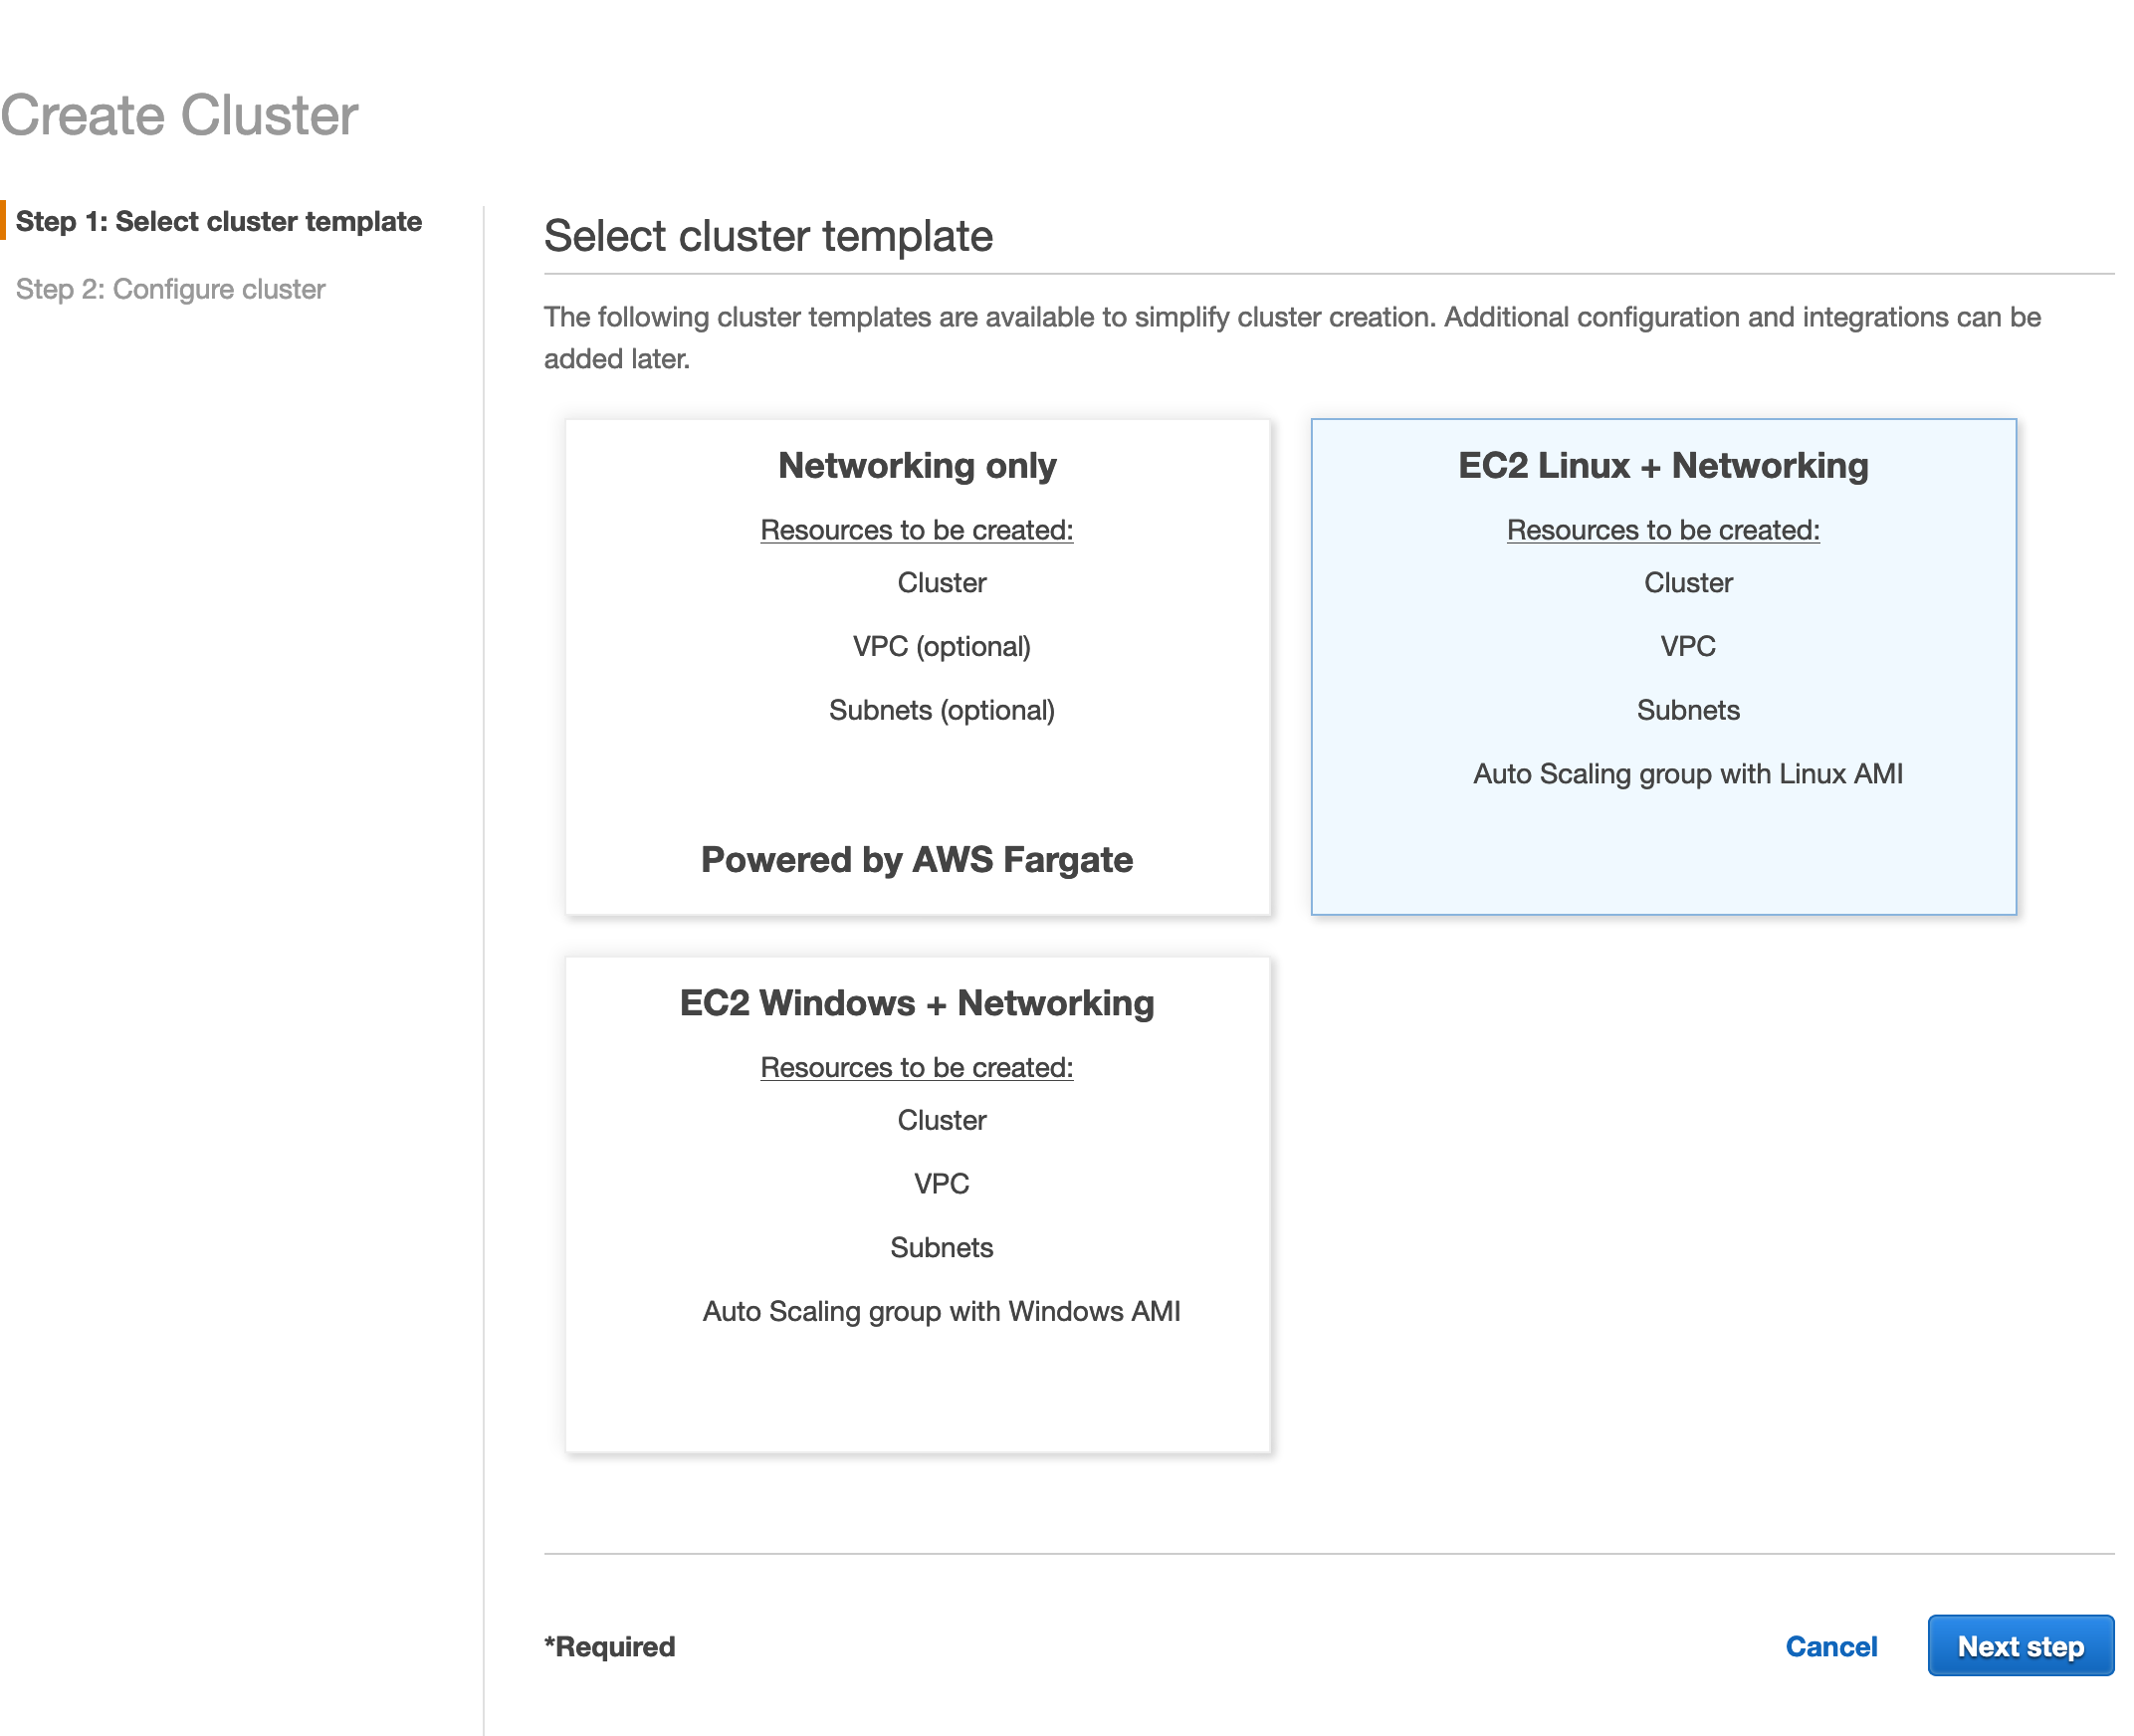
Step 1: Select Cluster template
Select EC2 Linux + Networking
Step 2: Configure cluster
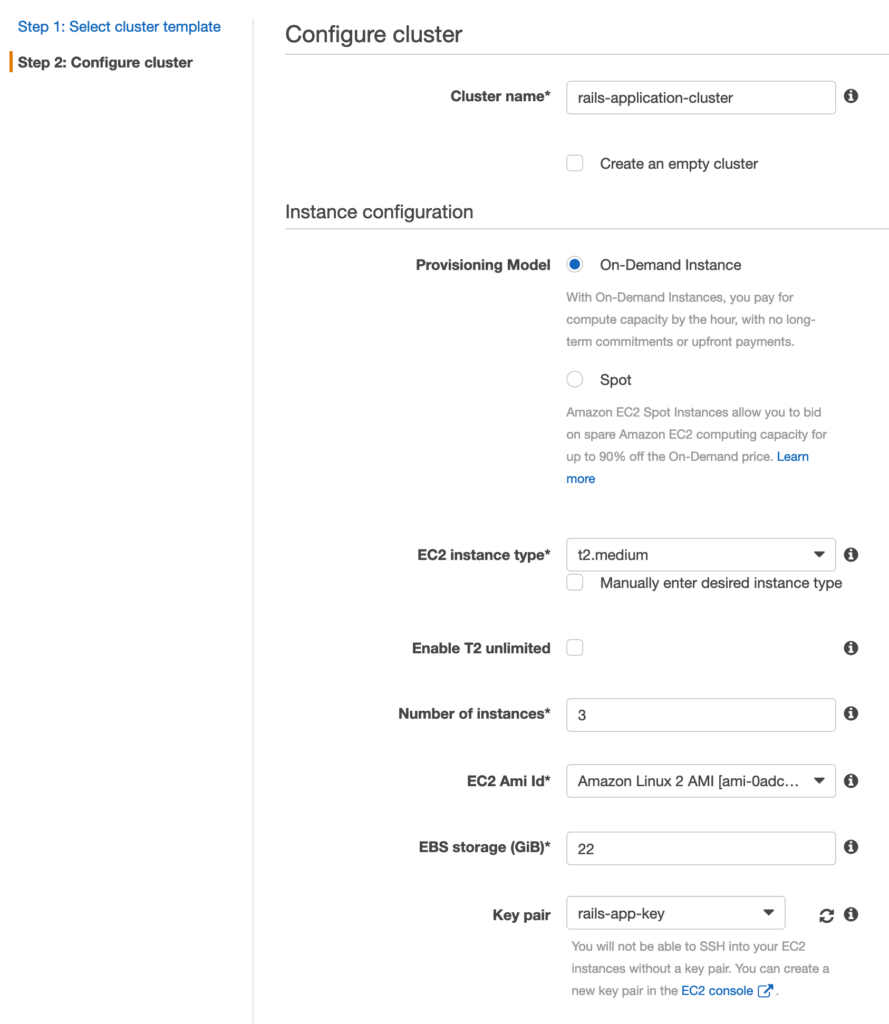
We have selected t2.medium for our instance type. Feel free to change it as per your requirement. Number of instances are set to 3 initially.
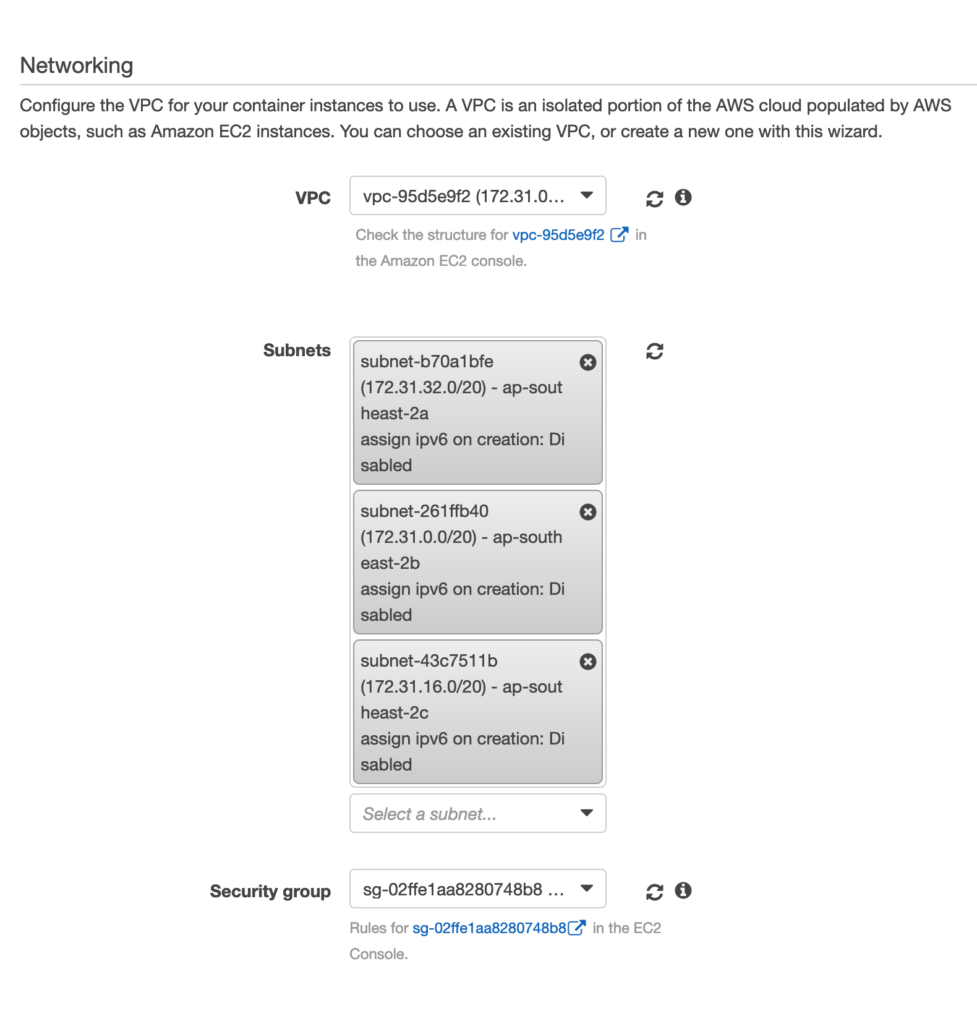
In the networking section, we will select the correct VPC the rails-app-instance-sg (The Security group for our rails instance created earlier)
Now it will take couple of minutes to create the cluster and the EC2 instances for you.
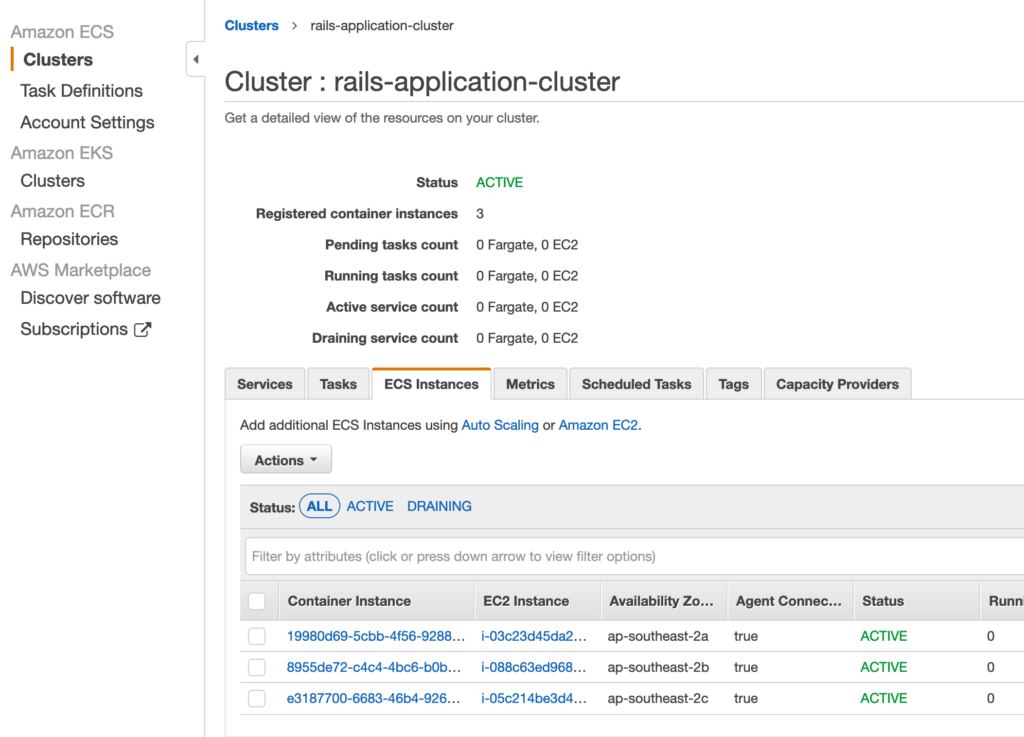
If you will go back to your cluster and click on EC2 instances tab, you will be able to see 3 instances (it may take AWS to some time to create the instances)
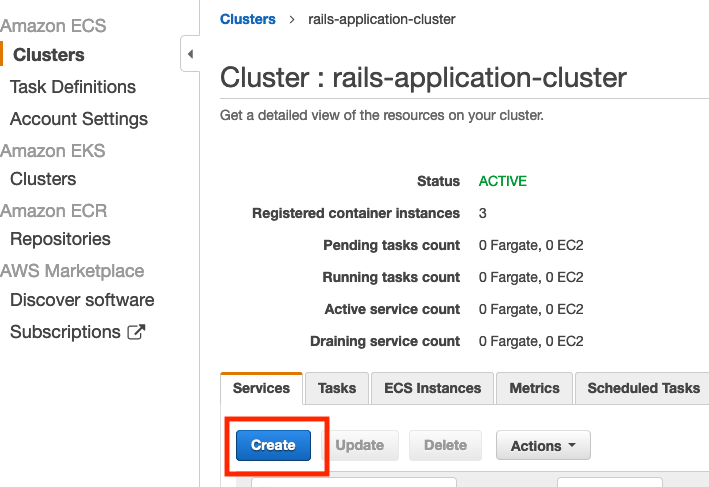
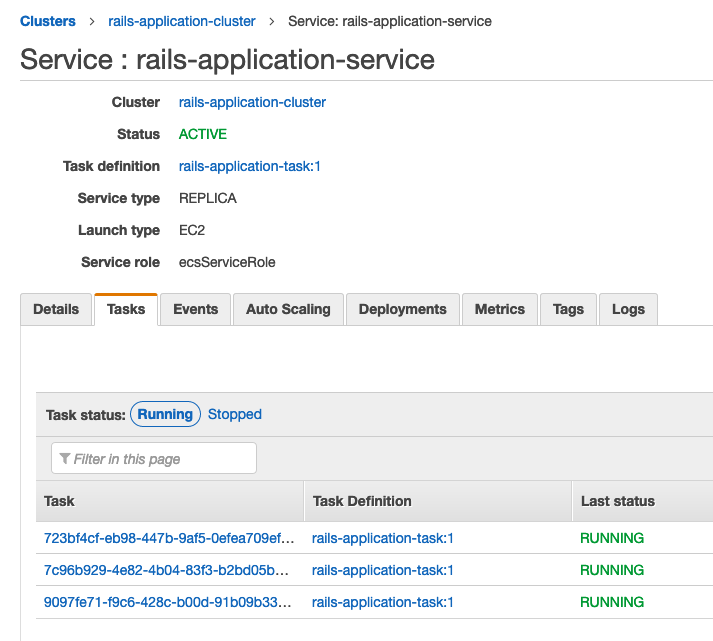
Create Rails service
We will now add a service to our container which will have the rails-application-task in it.
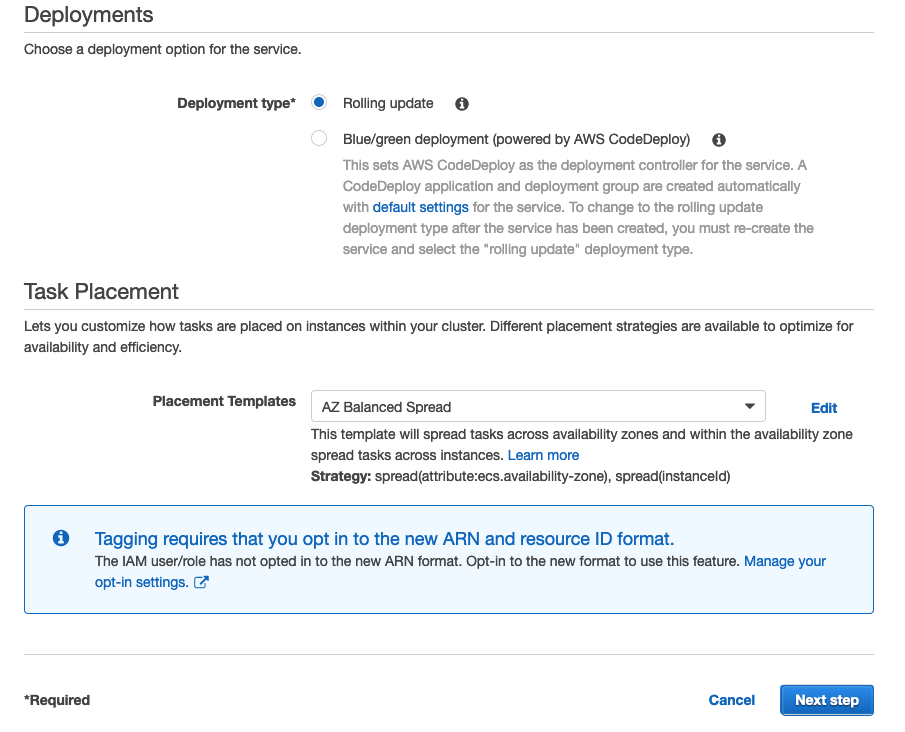
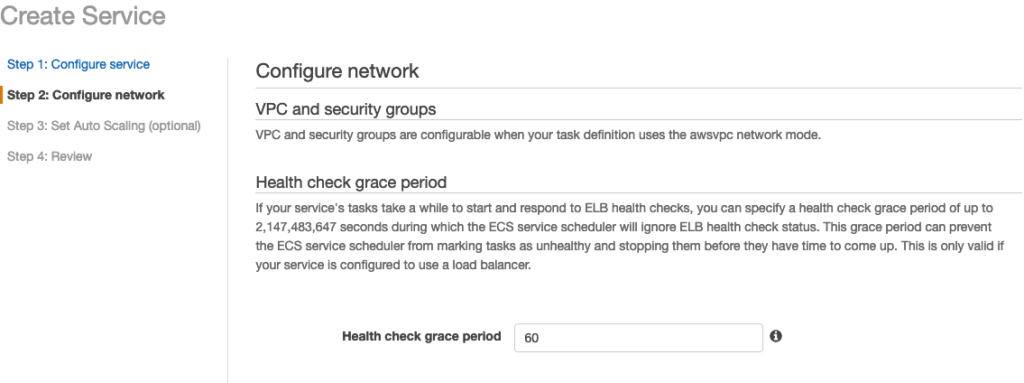
Step: Configure Service
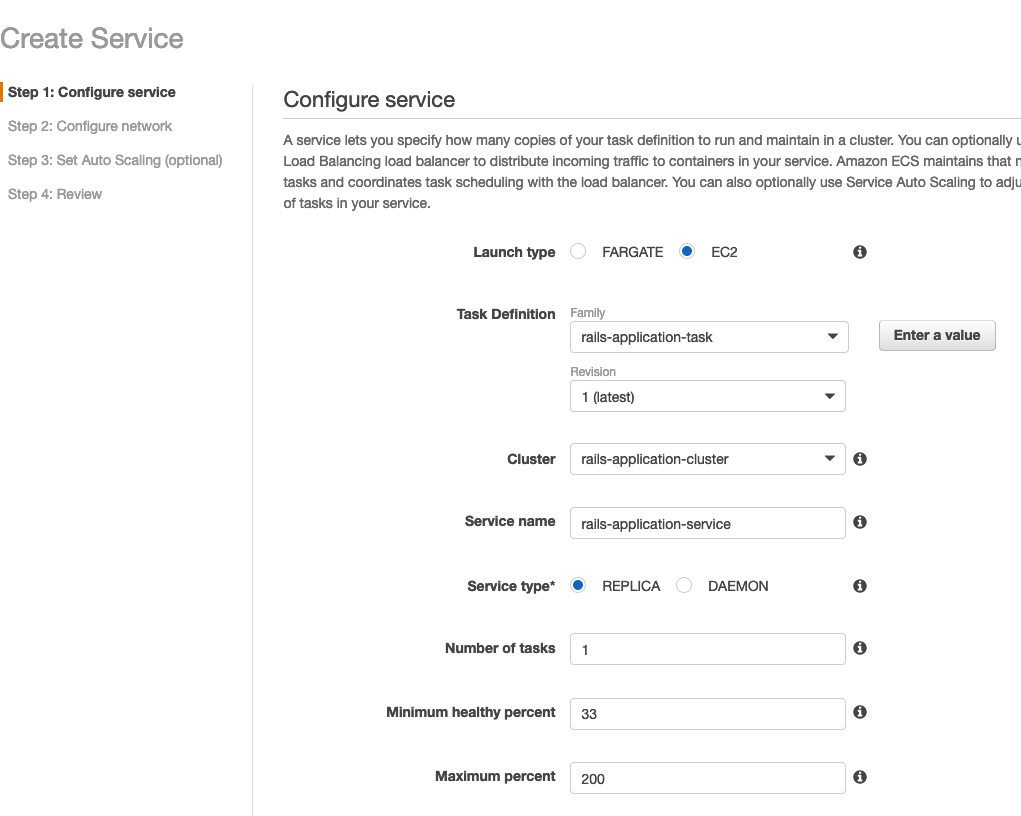
We are setting Minimum healthy percent to 33, the reason is that we have 3 instances in the cluster. We’re simply saying keep at-least one task running while deploying. I will discuss this in more detail when we’ll do CI/CD using AWS Codepipeline
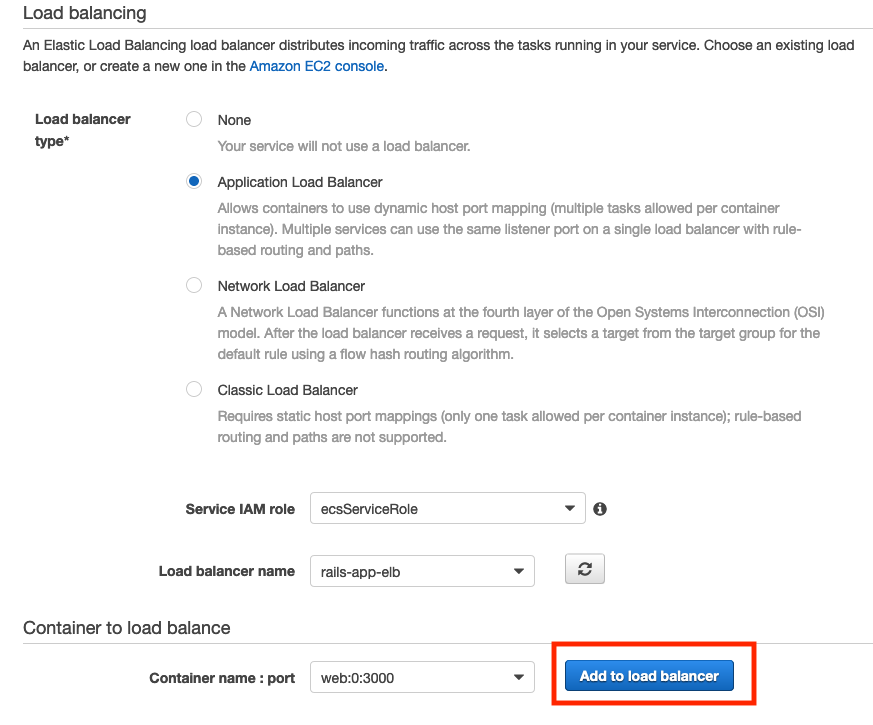
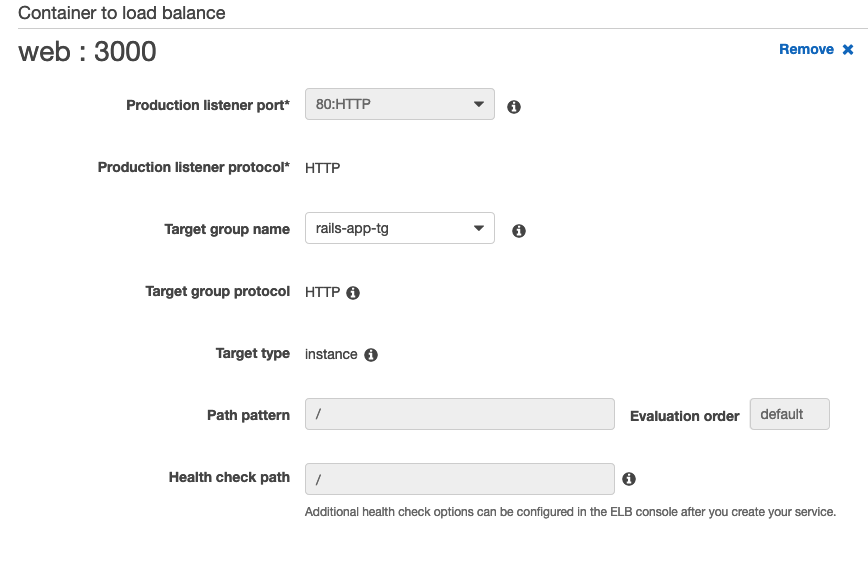
Click on Add to load balancer button select 80:HTTP and don’t forget to select the target group.
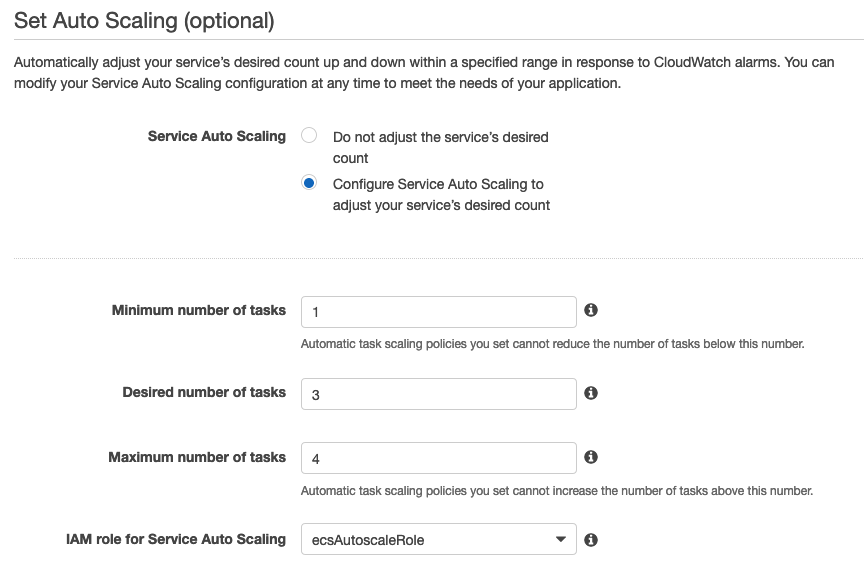
Set Auto Scaling group
We are about to create an Auto Scaling group policy that simply says that our desired tasks count is 3 and maximum is 4 if load increases.
Creating Scale UP and Scale Down policies.
Something has to trigger an alarm so AWS EC2 can add or reduce number of instances for us. I am using CPU Utilization in our example. There are many more options.
To keep it simple, we are saying that if the CPU Utilization is above 60% for 5 minutes, add another instance.
If the CPU Utilization is below 50% for 5 minutes, reduce instances to just 1.


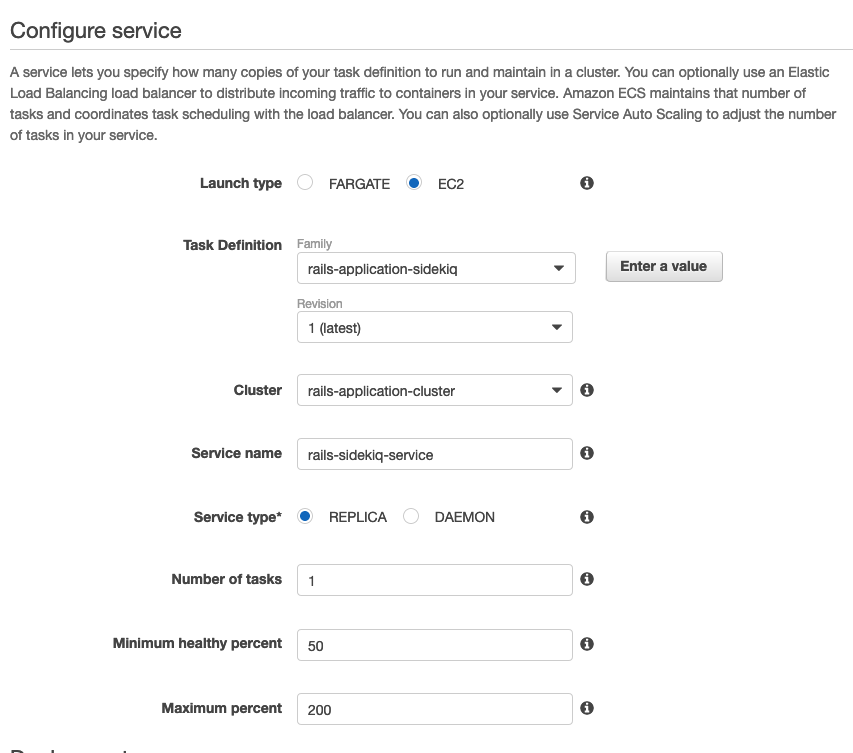
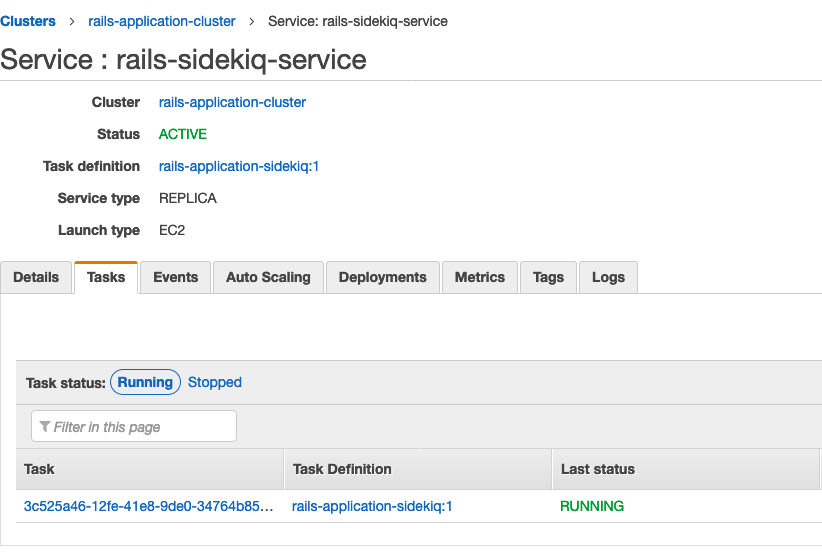
Create Sidekiq service
We will almost repeat the same steps for our Sidekiq Service as well.
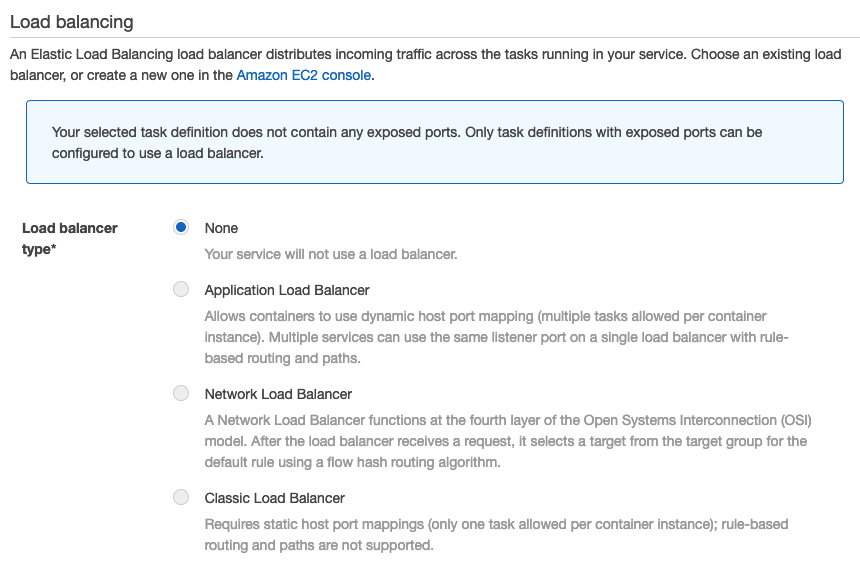
This sidekiq task does not need to be behind the Load Balancer as it does not need any contact from outside world. It is just processing our jobs.
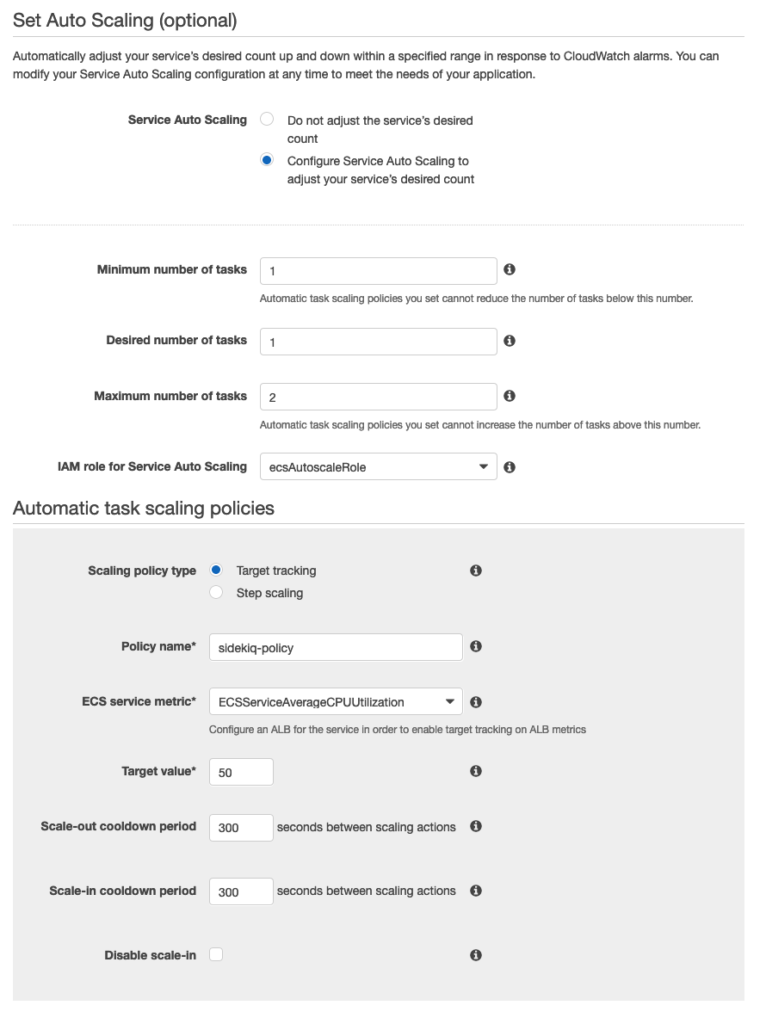
Scaling policy for this task is very simple. Set maximum tasks to 2 if Average CPU utilization is 50% for 300 seconds
Moment of Truth !
If everything went well, we should be able to access our rails application from Load Balancer DNS. Go to EC2 Dashboard and click on Load Balancers.
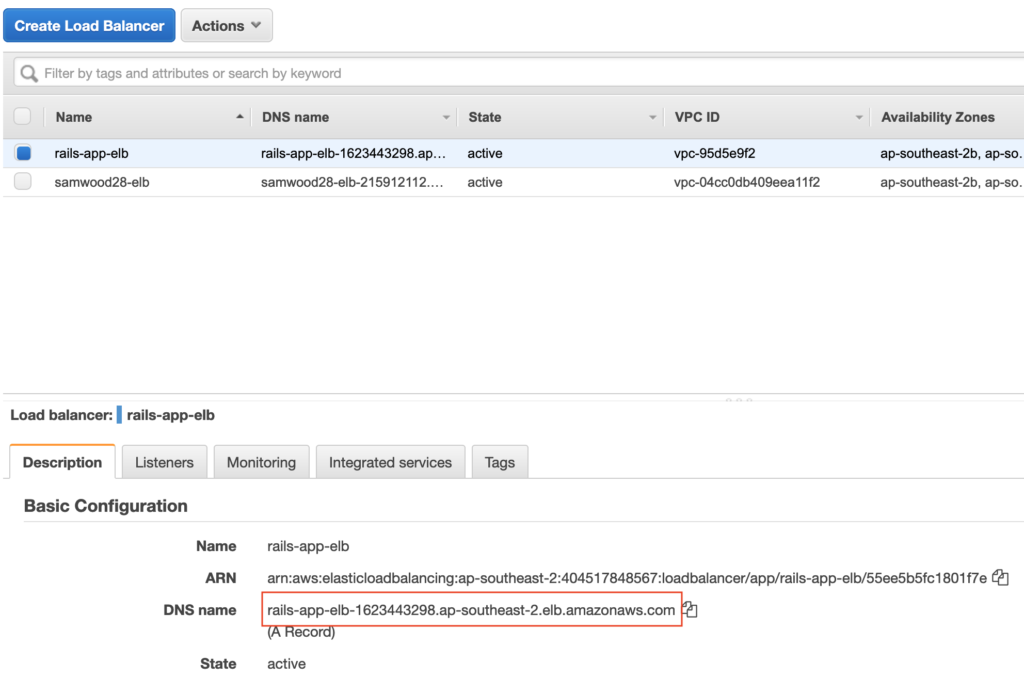
Now open your web browser and paste that DNS name like this :
http://rails-app-elb-1623443298.ap-southeast-2.elb.amazonaws.com/home
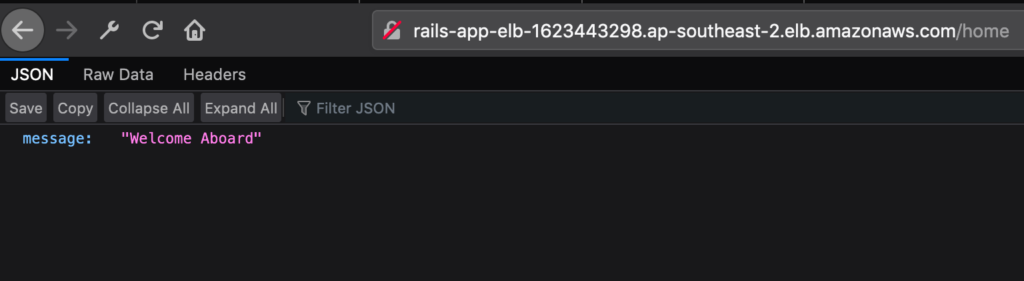
We can easily hook our domain with the Load Balancer later on by using AWS Route 53. Don’t worry about this ugly looking URL for now 😉
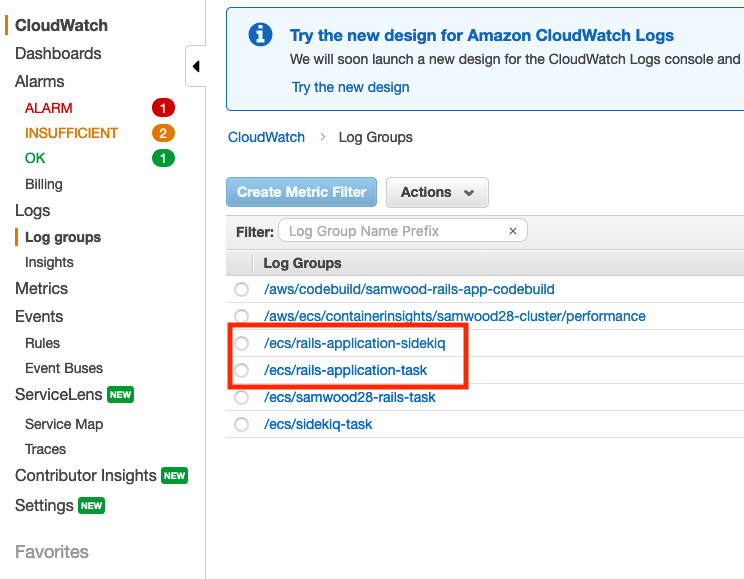
CloudWatch
If you will go to CloudWatch, you will be able to see your tasks logs is being accumulating. Click on your task to see the logs if required
when and where should you do db:migrate?
In your entrypoint.sh file.