
This article is the continuation of Rails + Sidekiq + Docker Application for AWS (ECS, ECR, RDS, Codepipeline and more) complete series. For better understating, please start from the beginning of the series.
Create the rails application

You can replace ecs-rails-application with whatever name you want for your application
You can also download the my repository from github. here is link
Docker time
Our application is created. Let’s create some other files and folders.
Dockerfile
Paste the following content into Dockerfile
Entrypoint.sh
paste the following code into entrypoint.sh file
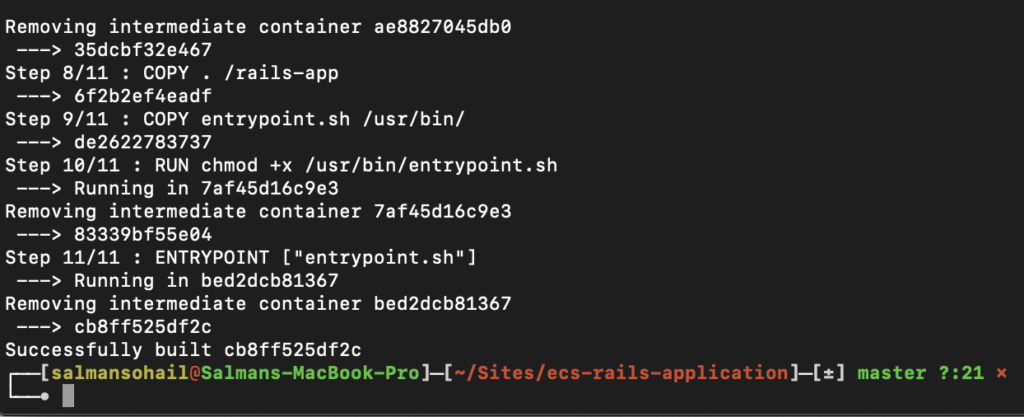
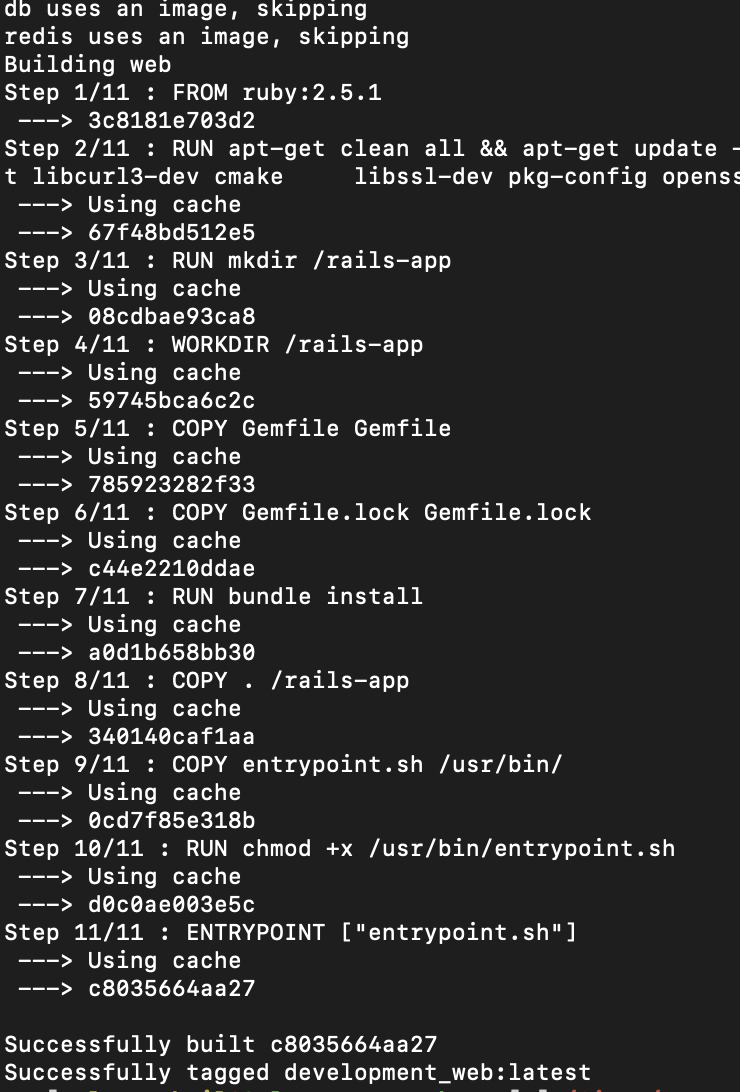
Now build the docker image to make sure nothing is breaking.
Docker Compose
we will add MYSQL, Redis and web (our rails project) services in our docker compose file. We need to make few adjustments in our rails application (same applies to existing rails application too)
config/database.yml
Your database.yml file should look like this:
Open the docker-compose.yml file located in development folder and paste the following code:

I know this digital vomit looks complicated, I will try to explain what’s going on. We have created 3 services (db, redis and web)
Our rails application requires mysql database and redis (in the future for sidekiq). Docker compose is creating mysql and redis service for our rails application inside docker-compose.yml file.
- db service is using mysql docker image from docker hub
- redis service is using redis docker image from docker hub
- web service is our rails application project containing our own Dockerfile
We need to understand what is going on inside the web service. We are providing the build path which is pointing docker compose to the parent folder where our Dockerfile is located
Other than that, we are setting some environment variables such database credentials, which will be passed onto our rails application.
We are also creating a volume called bundle which will be our cache for gems. By doing this, we don’t have to wait for the gems to be installed from start every time we run docker-compose build
Finally, Its time to run our Rails application !!
From your terminal, run the following commands:
Note: whenever you add any new gem in your Gemfile, Please don’t forget to run docker-compose run web bundle install
If everything goes well, you should be able to something like this:
run the final command to instantiate rails server

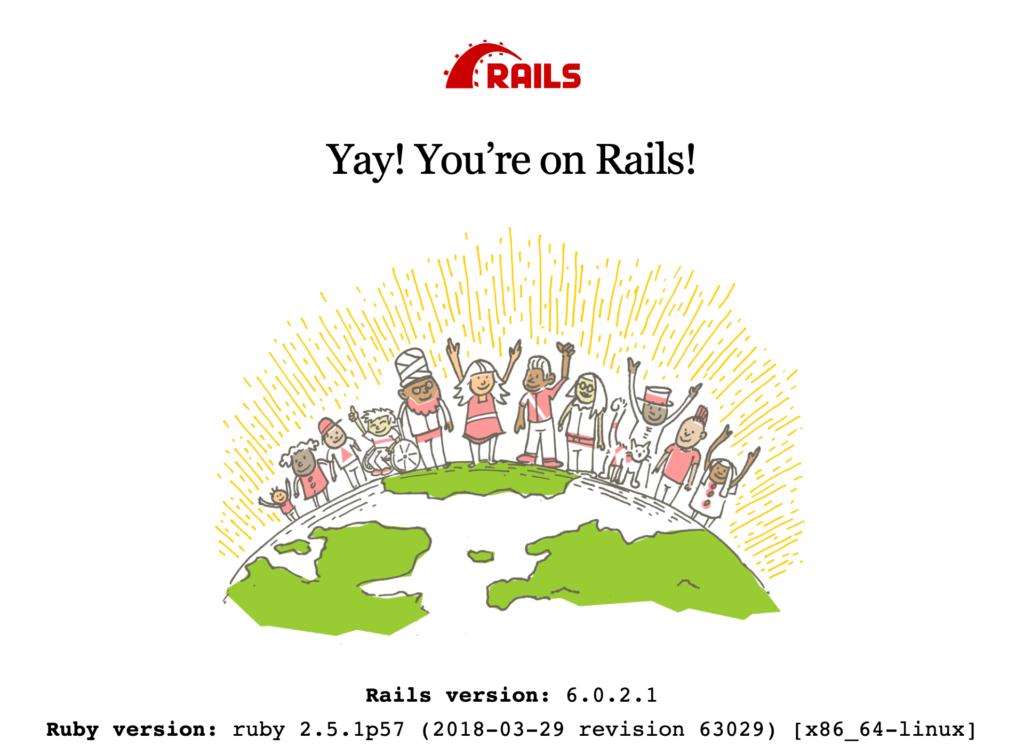
open your web browser and type http://localhost:3000 and you should see the rails application
Configure sidekiq
Add following into your Gemfile:
Create following files:
Paste following code into sidekiq.rb file
Go to development folder and install the new gems
We need to add a new service to the docker-compose.yml file
You can check the final docker-compose.yml on https://github.com/saluminati/ecs-rails-application/blob/master/development/docker-compose.yml
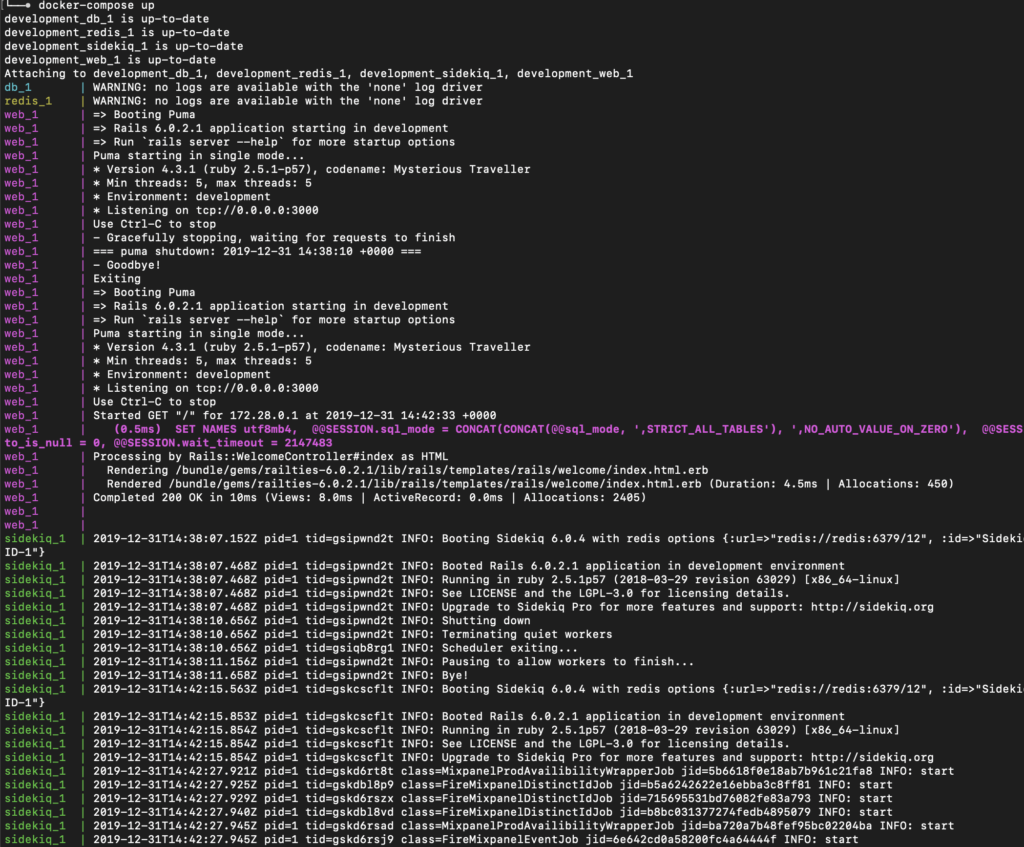
If you will run docker-compose up, you should be able to see (db, redis, web and sidekiq) running smoothly
Final Touches
We will create a Controller, ActiveJob and some changes to the routes. When the times comes, it will help us to test our Rails application.
Create a controller and Active Job
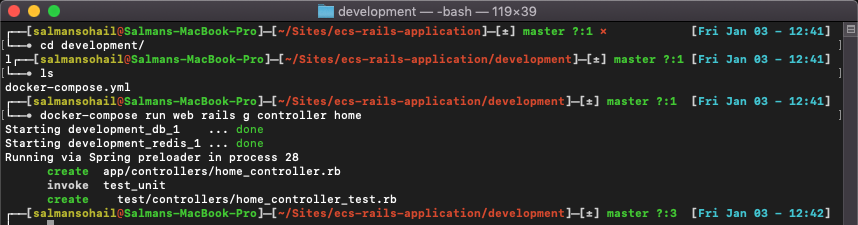
From your application development folder run the following commands.
It will create the following files in your project
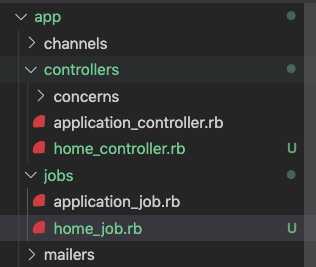
Update home_controller.rb, home_job.rb and routes.rb with the following content
home_controller.rb
home_job.rb
routes.rb
now build and run your container
Open http://localhost:3000/home in your web browser

in the console you should be able to see that the HomeJob has been performed.


I had to add ‘bundle exec’ to make it ‘docker-compose run web bundle exec rails db:setup’ or I would get ‘/usr/bin/entrypoint.sh: line 7: exec: rails: not found’
Bundle exec would start the db setup but I can’t get passed this. I have actually tried several different ways and no matter what I do I get –
Mysql2::Error::ConnectionError: Can’t connect to MySQL server on ‘127.0.0.1’ (111 “Connection refused”)
Put this at the bottom of Dockerfile.
ENTRYPOINT [“sh”,”entrypoint.sh”]