
This article is the continuation of Rails + Sidekiq + Docker Application for AWS (ECS, ECR, RDS, Codepipeline and more) complete series. For better understating, please start from the beginning of the series.
Create AWS ElasticCache
Go to Elastic Cache from your AWS service tab. Click on create Elastic Cache and do the following:

We have selected a very small instance as Node type and Number of replicas are also set to 0. Please change these values as per your requirements
Create a new subnet group and make sure that your choose the correct VPC

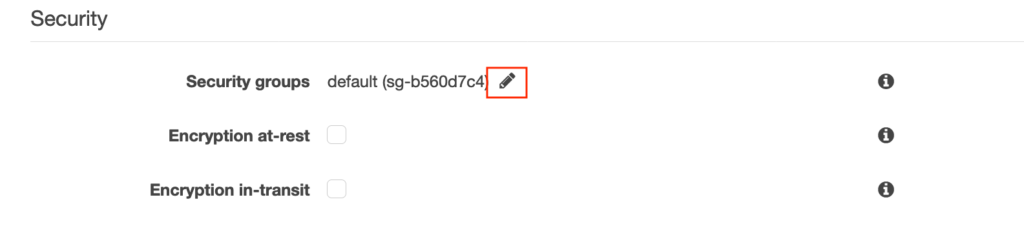
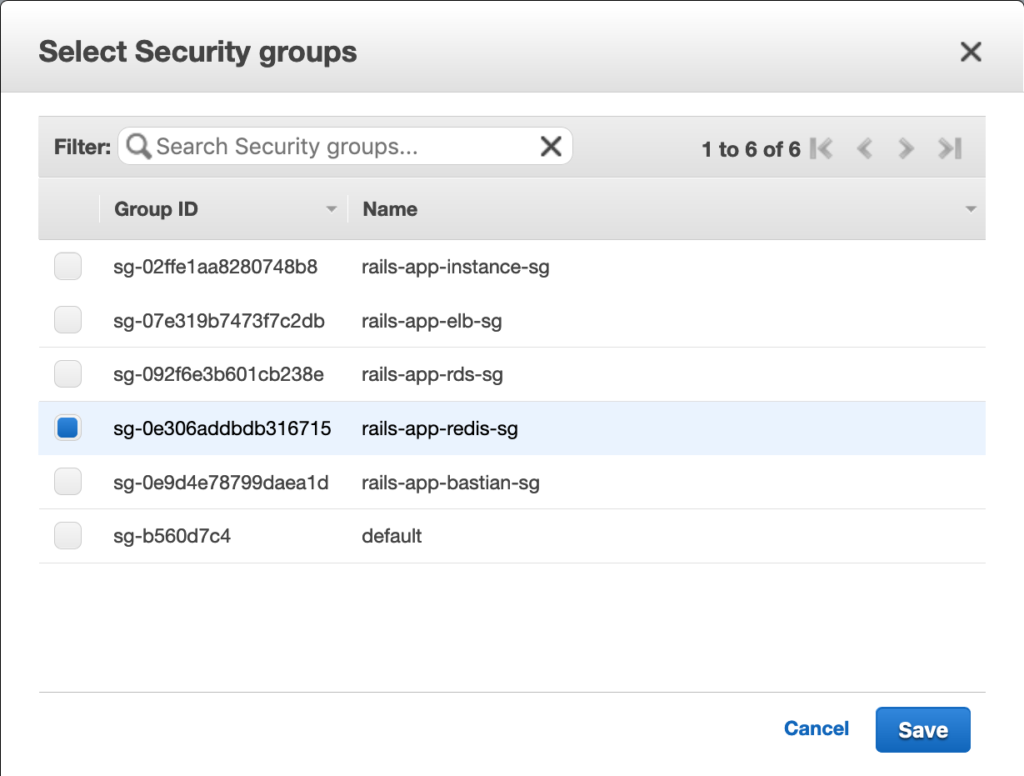
Edit the Security group and assign the one we created for redis earlier.
Hit create and we’re done. It will take few minutes for AWS to create this redis cache for us. In the meantime, we login into our bastian instance and prepare few things to test our redis cache for sidekiq.
Test Redis
Connect to the bastian instance. Please refer to Create Bastian instance to test or troubleshoot Rails, RDS and Redis article section Connect to the Bastian instance
Once you have made the connection, do the following:
Now you need to endpoint of your Redis cache, Go to Your AWS Elastic Cache and click on your redis cache. Copy the endpoint from there.

From your bastian terminal, run the following command:
Replace rails-app-cache.wowj4m.0001.apse2.cache.amazonaws.com with your endpoint

You should immediately see PONG in the response. If that is the case, You’re a LEGEND and YOU deserve a F**king break.
